Step 1
Print the Body
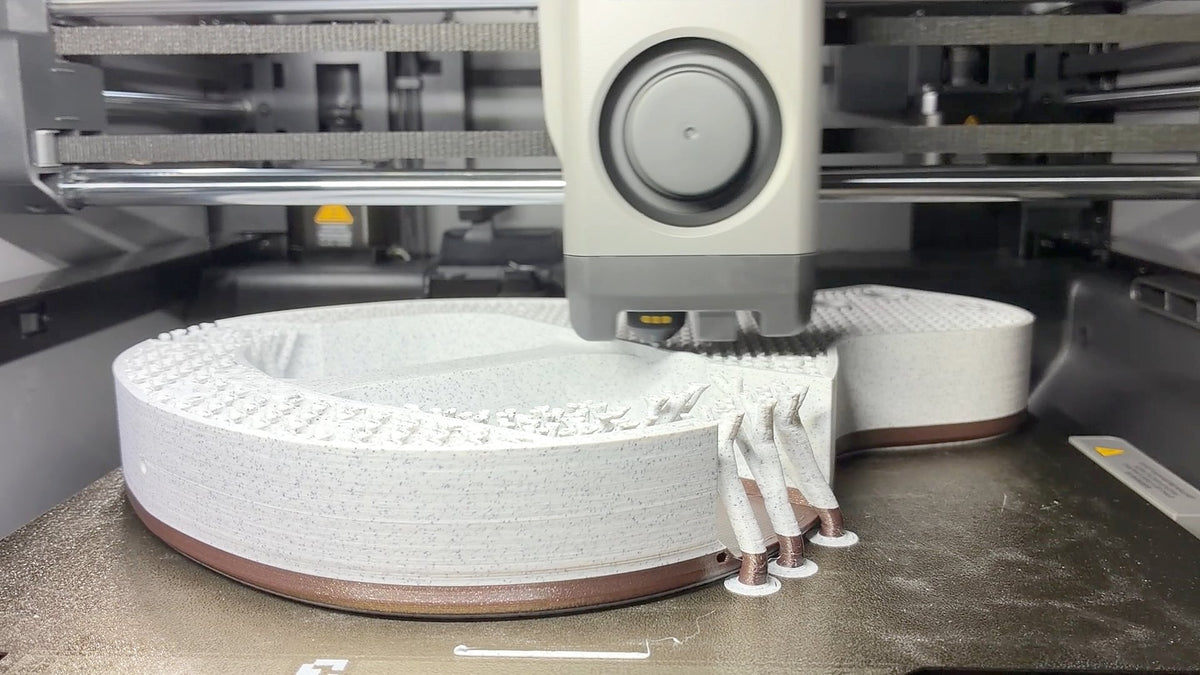
Open the body 3MF and print it on any 256 × 256 mm bed or larger. The print settings are already set.

About an hour, no soldering. Follow along with photos for every step.

Print the neck, body and small parts, then follow every step.
Print the body and small parts only. Skip the neck print steps, then follow the rest. You still install the inserts, tuners, nut and frets.

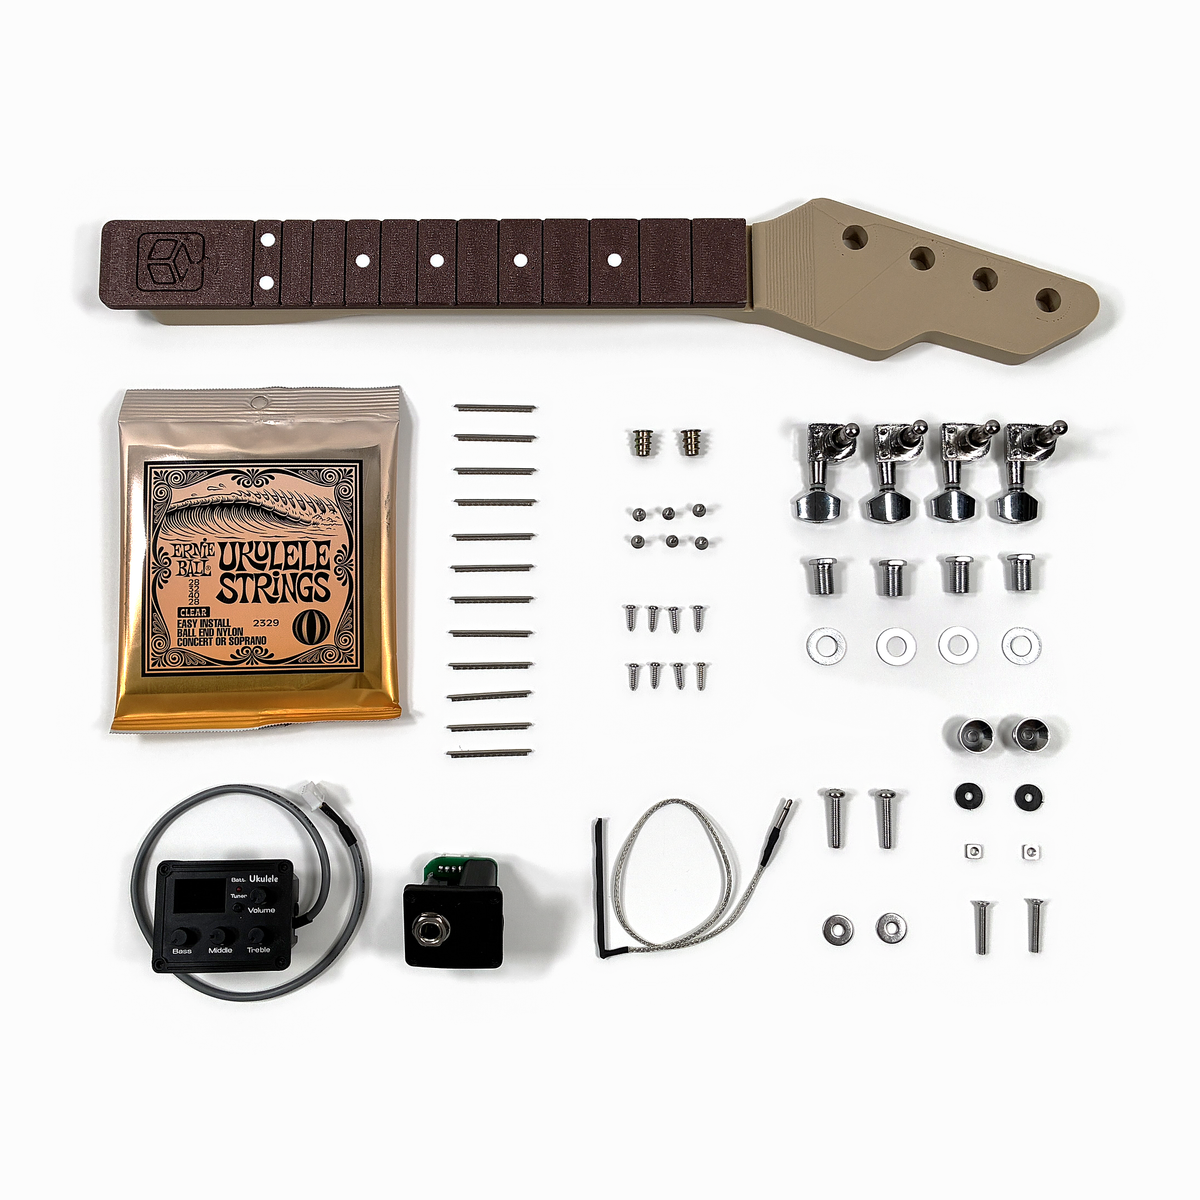
Kit + Pre-Printed Neck also includes the printed neck. Batteries (2 × CR2032) come installed in the output jack.

Each step names the parts it uses by letter, like "D" screws.


The 3MF files from your order email have the print settings already set. STL files are included too if you'd rather start from scratch; they don't include any print settings. Standard PLA works for every part; use ASA if the uke will see outdoor sun or heat.
Print everything, then clean up the supports before you build.
Open the body 3MF and print it on any 256 × 256 mm bed or larger. The print settings are already set.
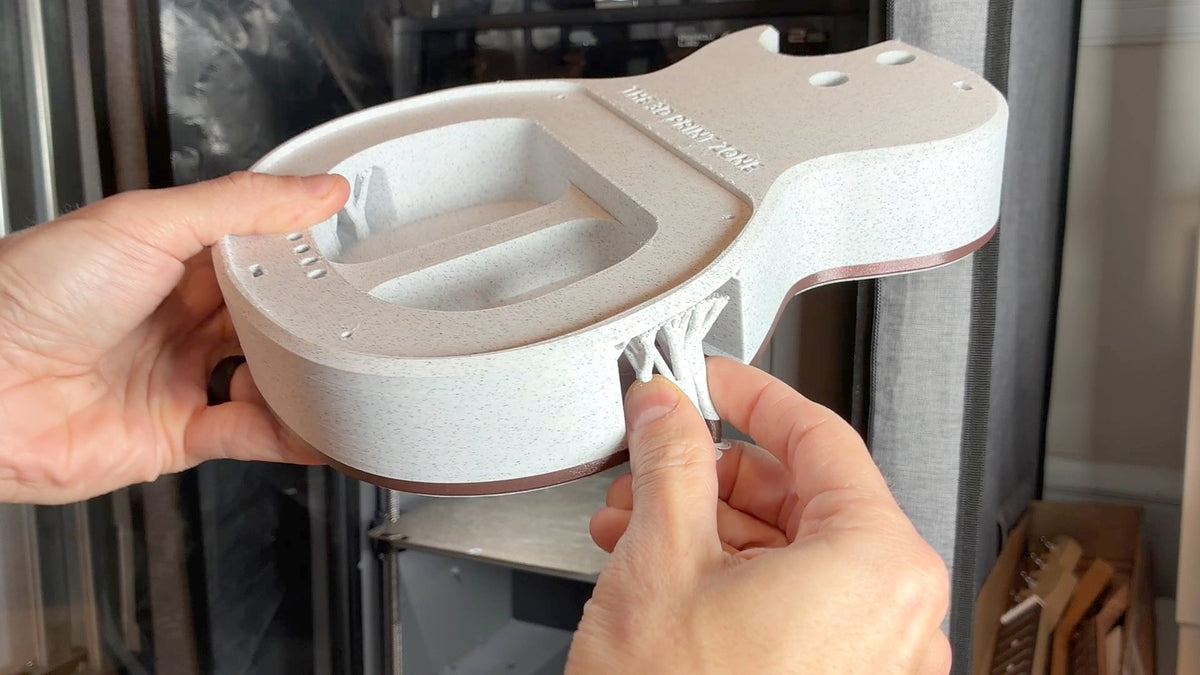
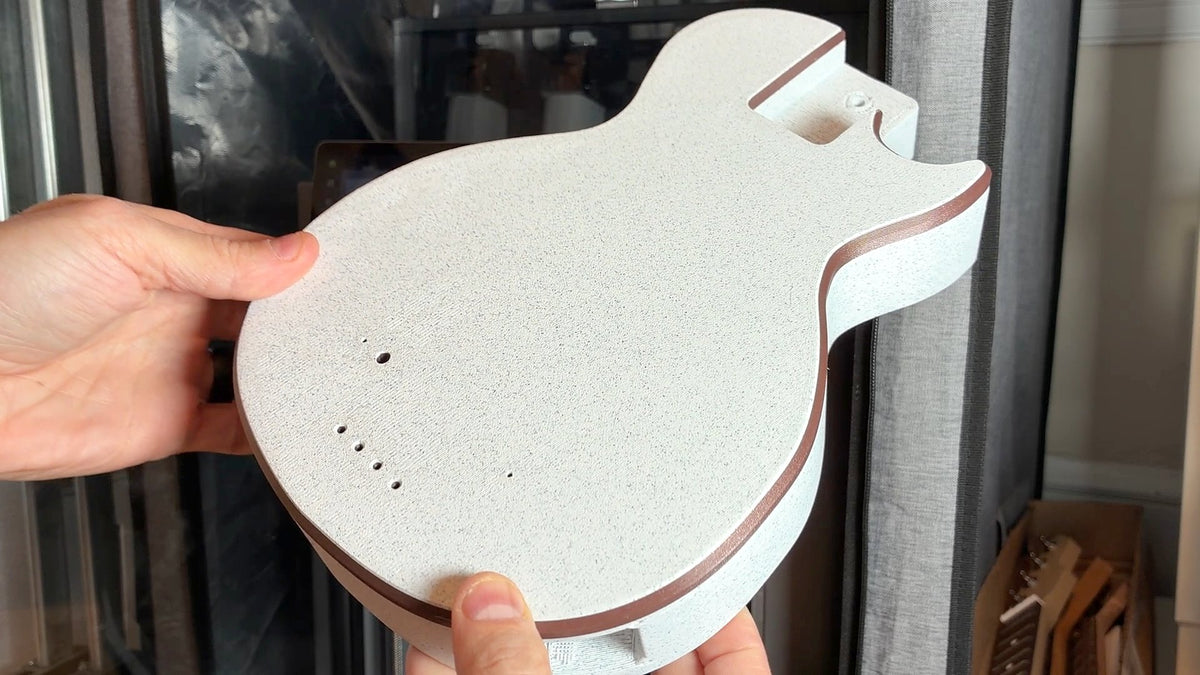
Pop the body off the bed and remove the supports. Clean up any rough spots.
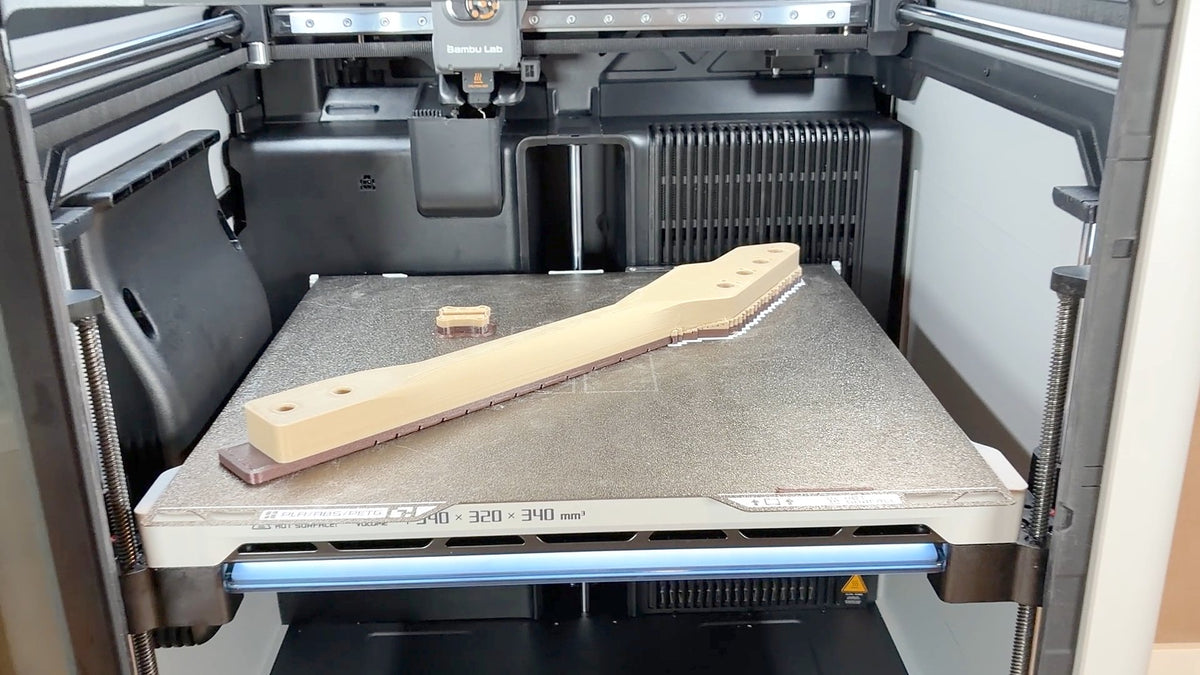
The neck prints diagonally on a bed of at least 340 × 320 mm.
Kit + Pre-Printed Neck: skip this step, your neck is included.
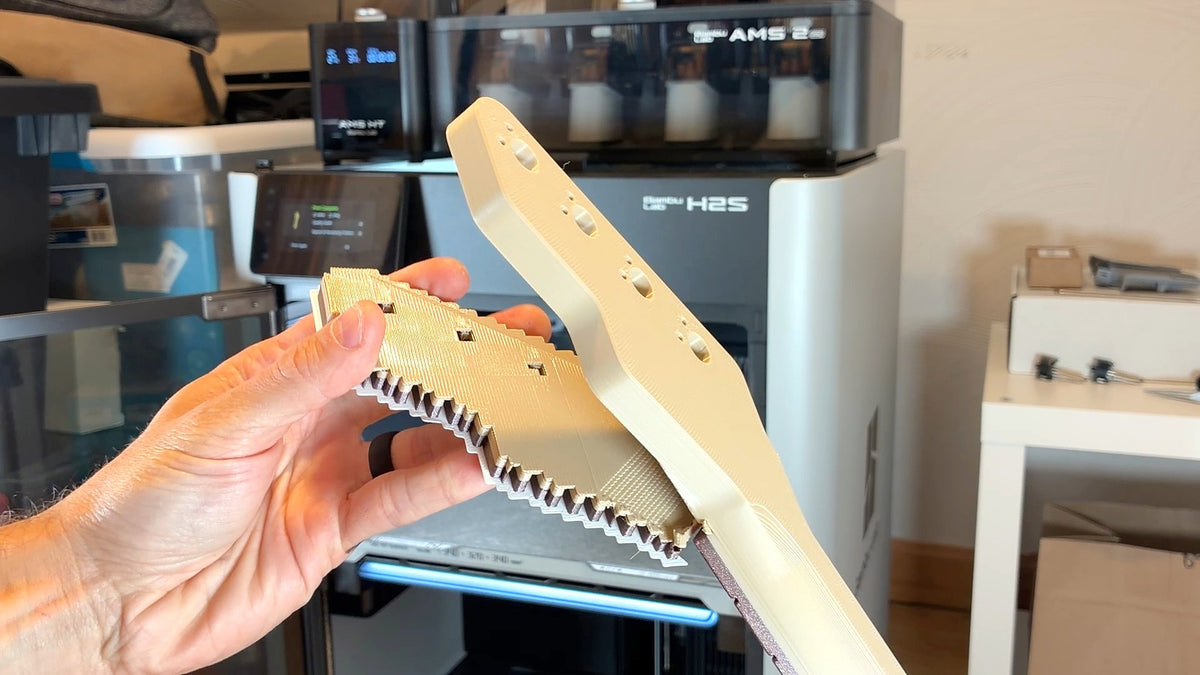
Clear the supports from the headstock.
Kit + Pre-Printed Neck: skip this step, your neck is included.
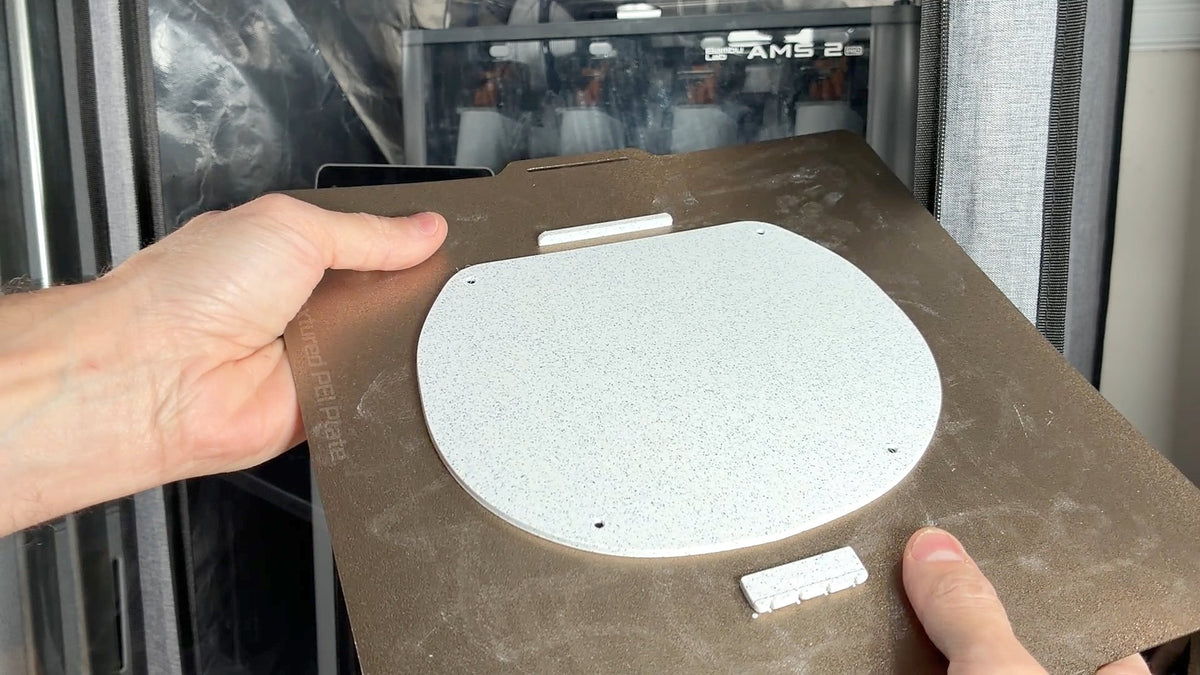
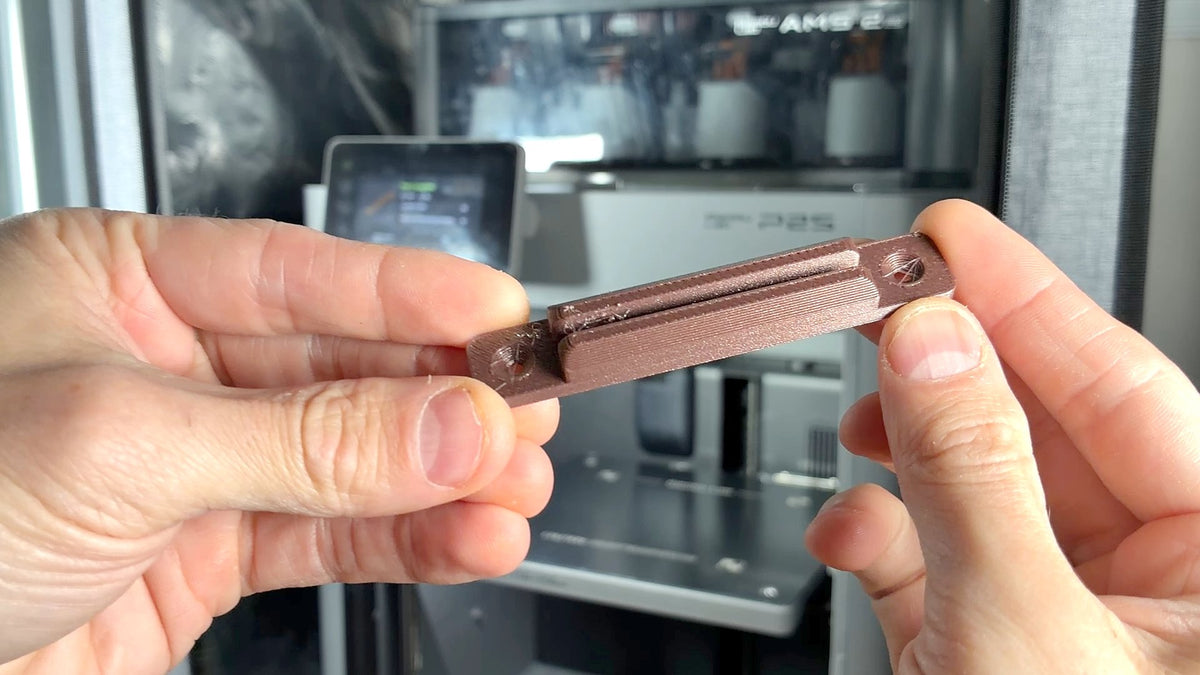
Print the backplate, saddle, nut and bridge.
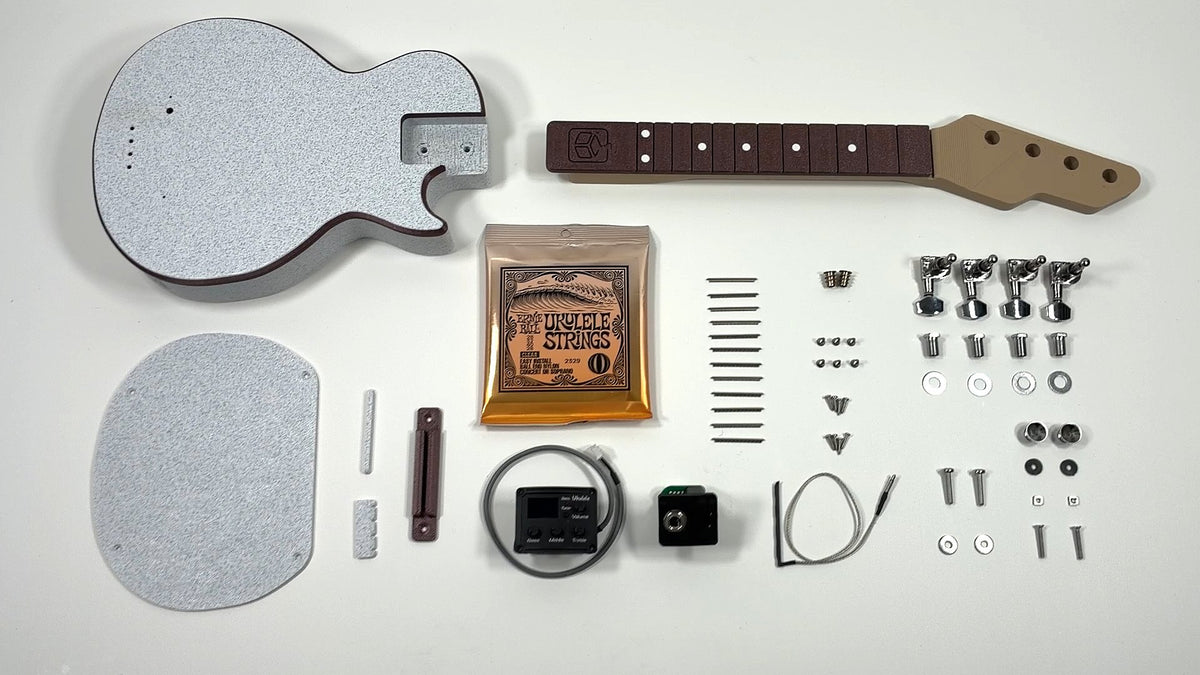
Check you have every printed part and all the hardware before you start building.
Inserts, tuners, nut and frets. Kit + Pre-Printed Neck builders start here too.
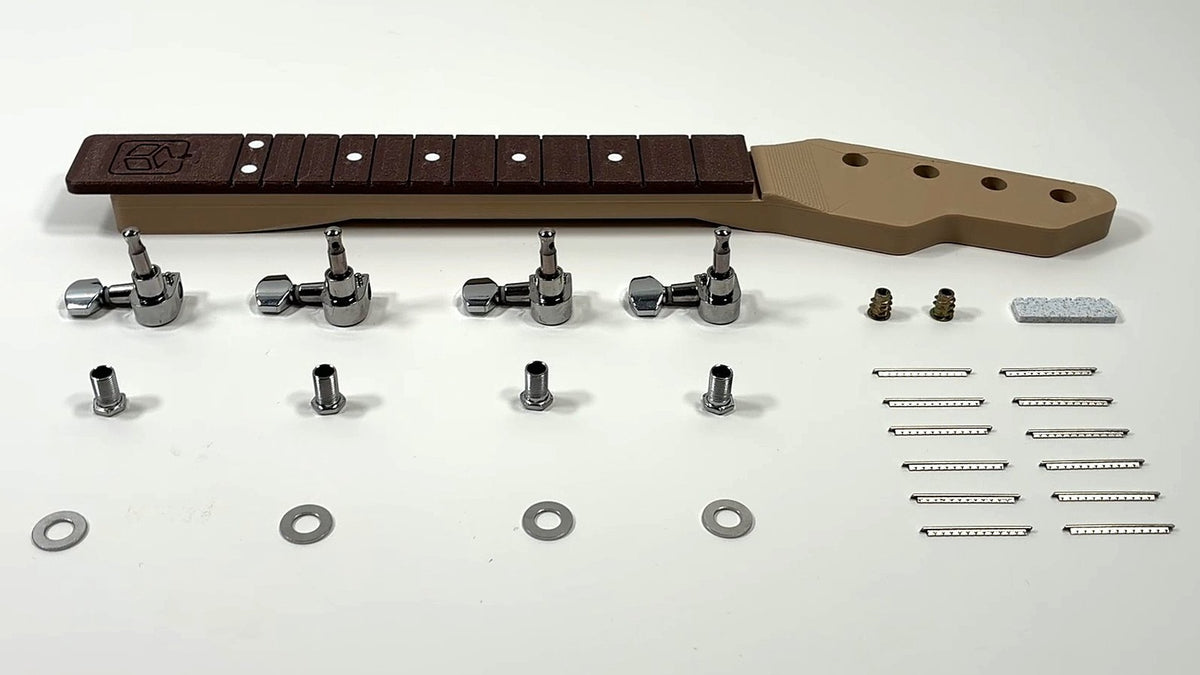
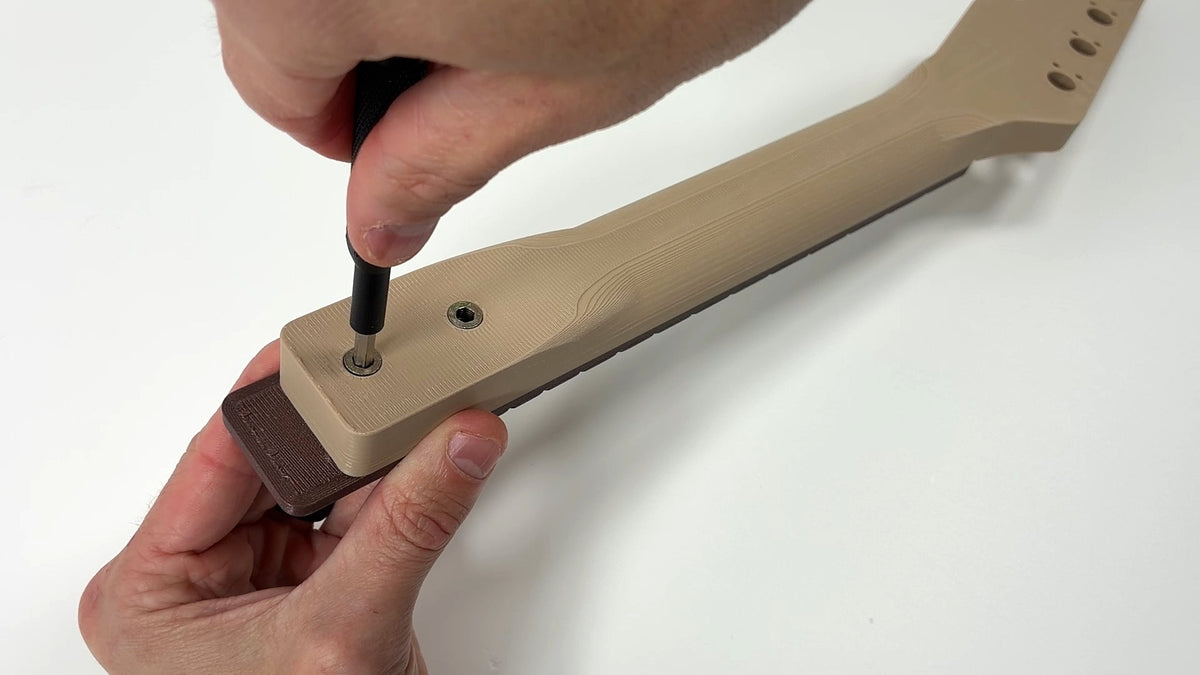

Drive both inserts into the heel of the neck with the 4 mm hex bit until they sit flush. These hold the neck to the body later.
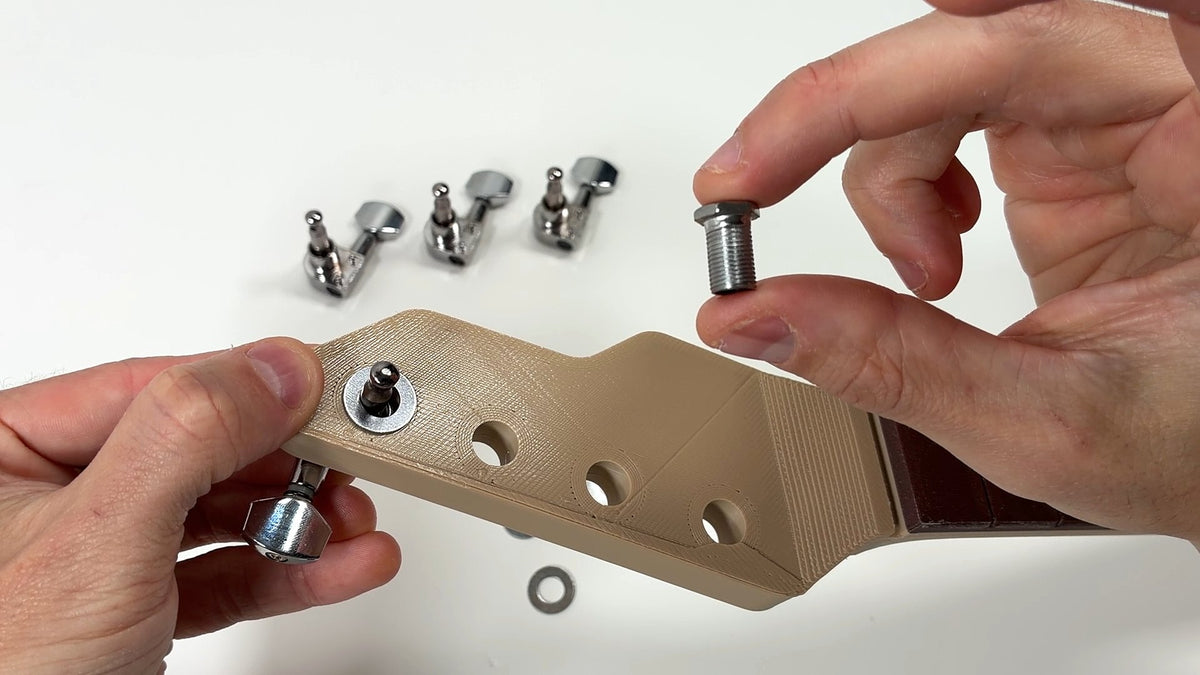
Push each peg through the headstock from the back. Slip a washer over the post, then thread on the bushing by hand.
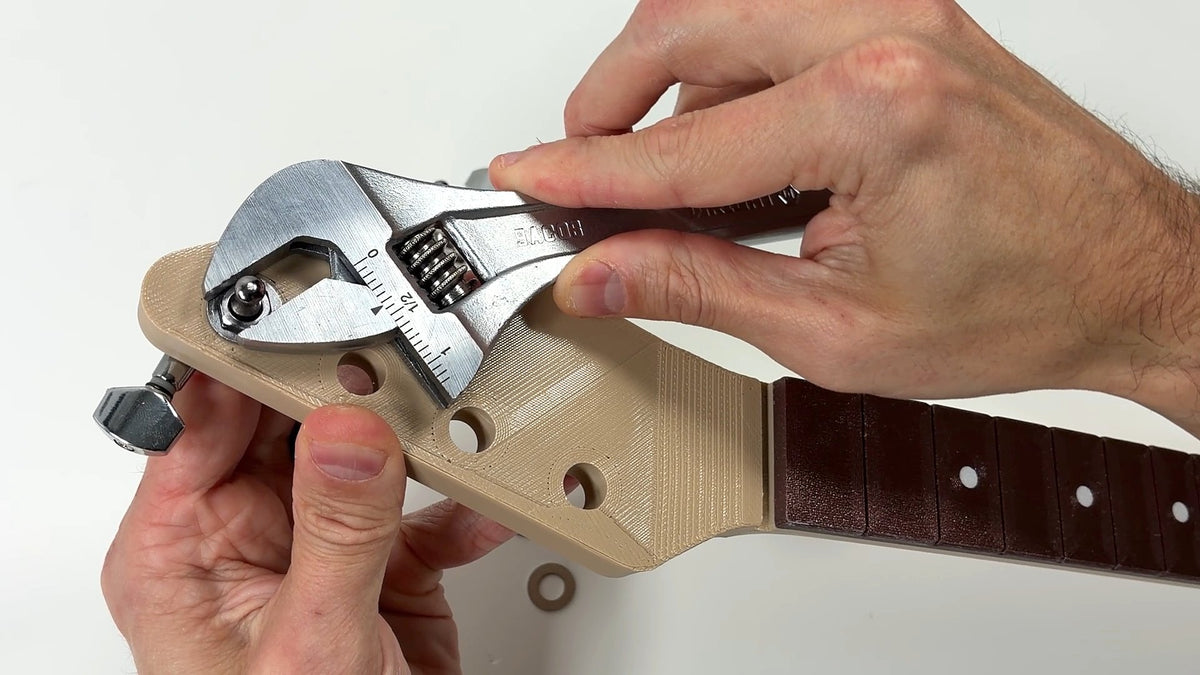
Snug each bushing with the 10 mm wrench. Repeat for all 4 pegs.
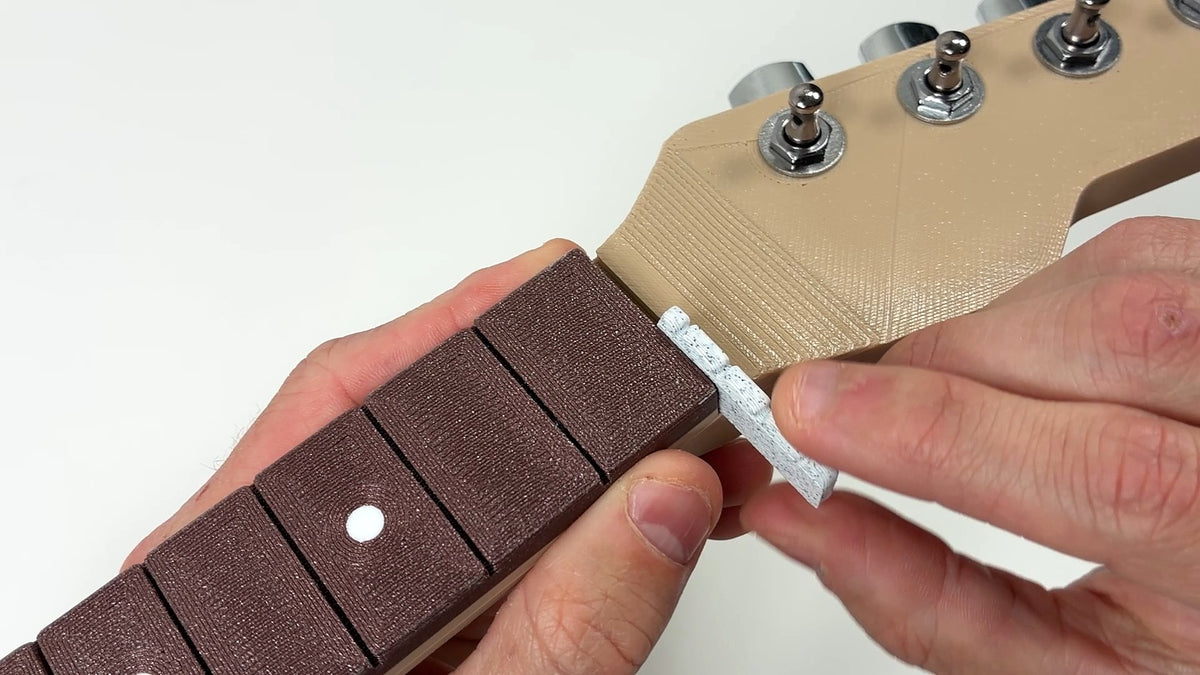
Press the nut into its slot at the top of the fretboard. No glue needed.
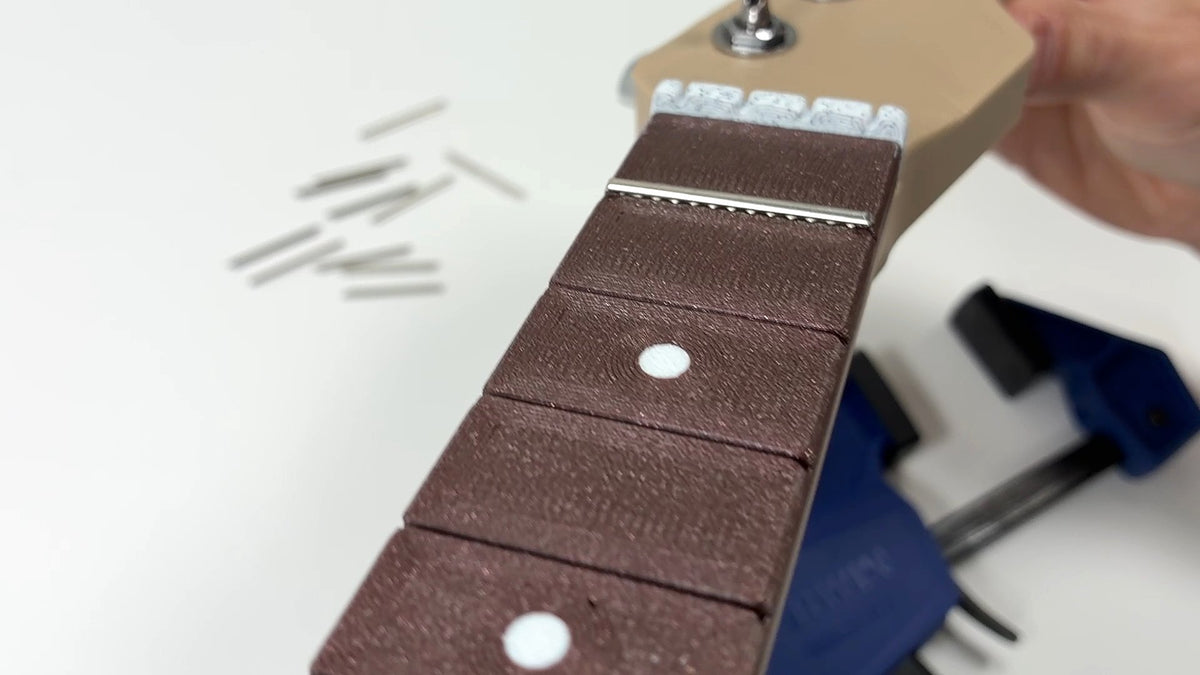
Set the first fret wire in its slot, centered on the fretboard, then press it down by hand. The barbed tang grips the plastic.
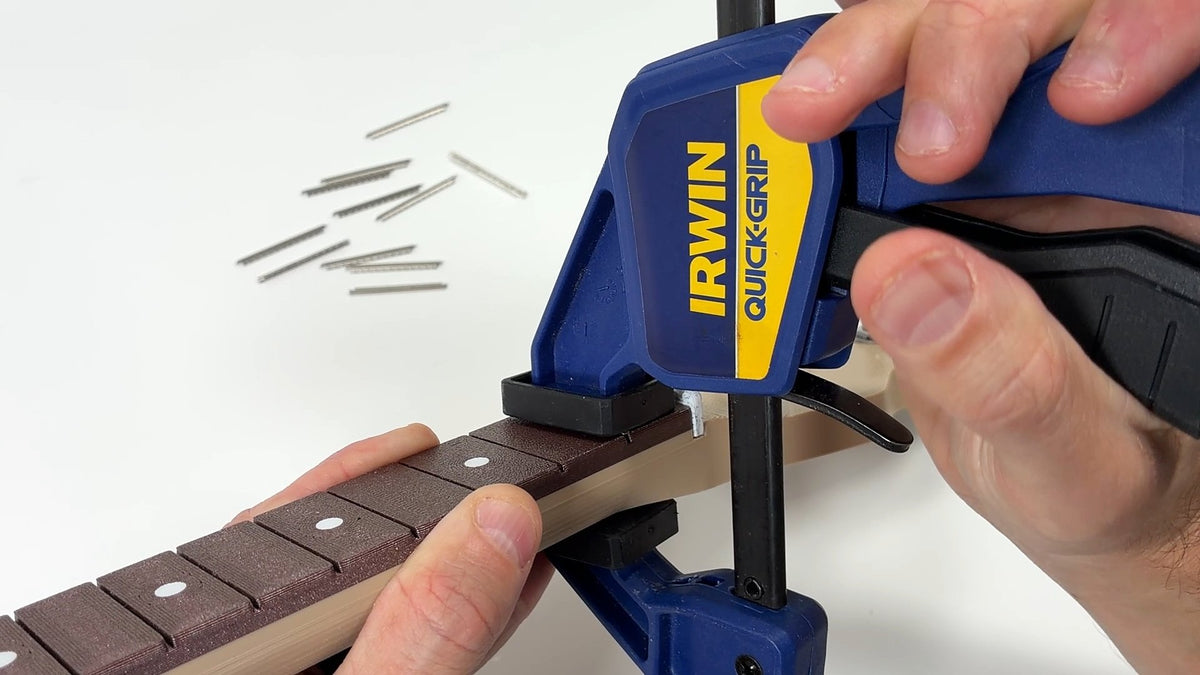
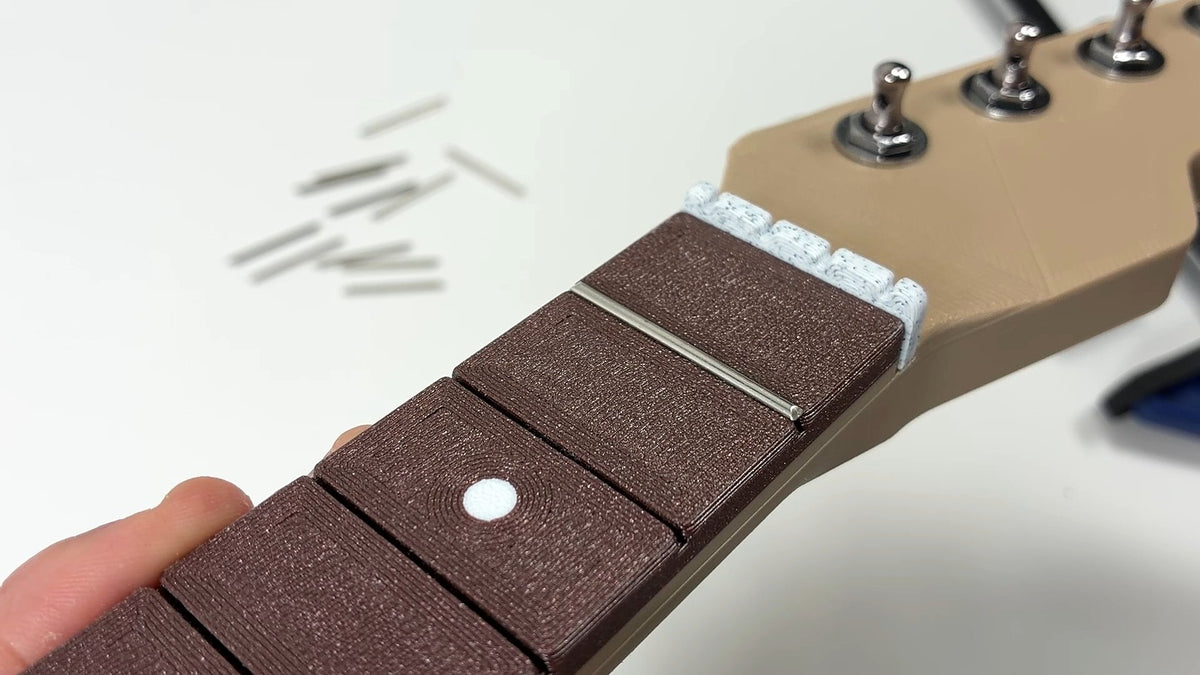
Squeeze the fret with a clamp so it sits flat along its whole length.
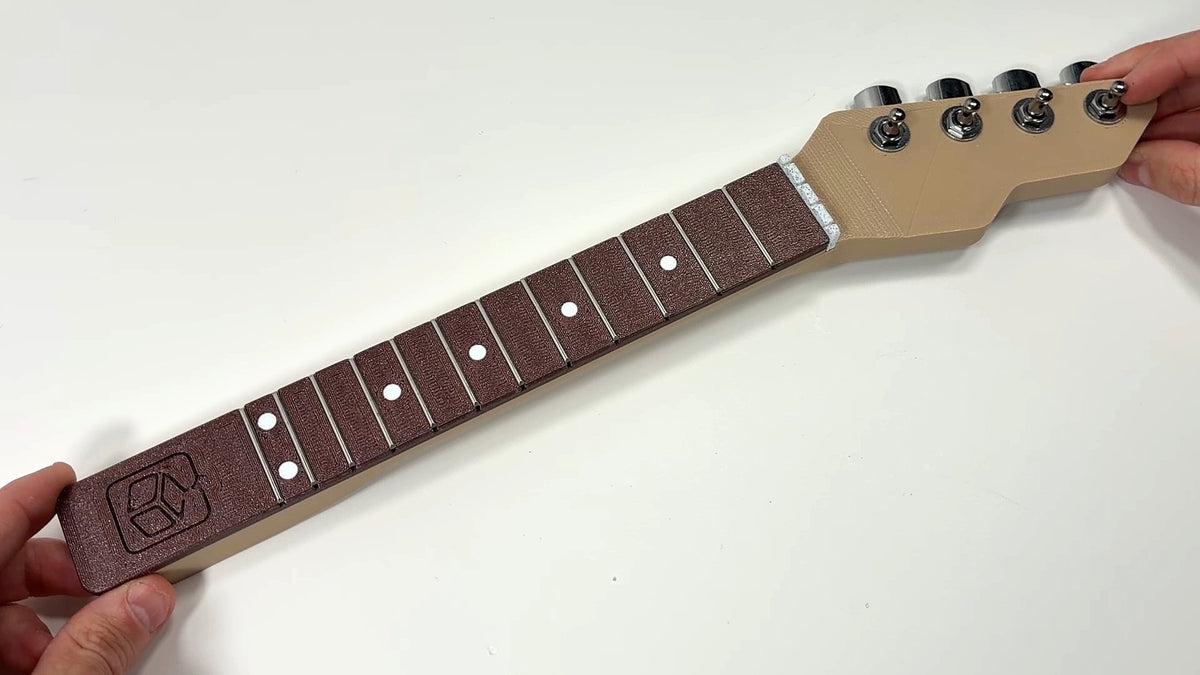
Work down the neck one fret at a time.
Plug-in connectors throughout. No soldering.

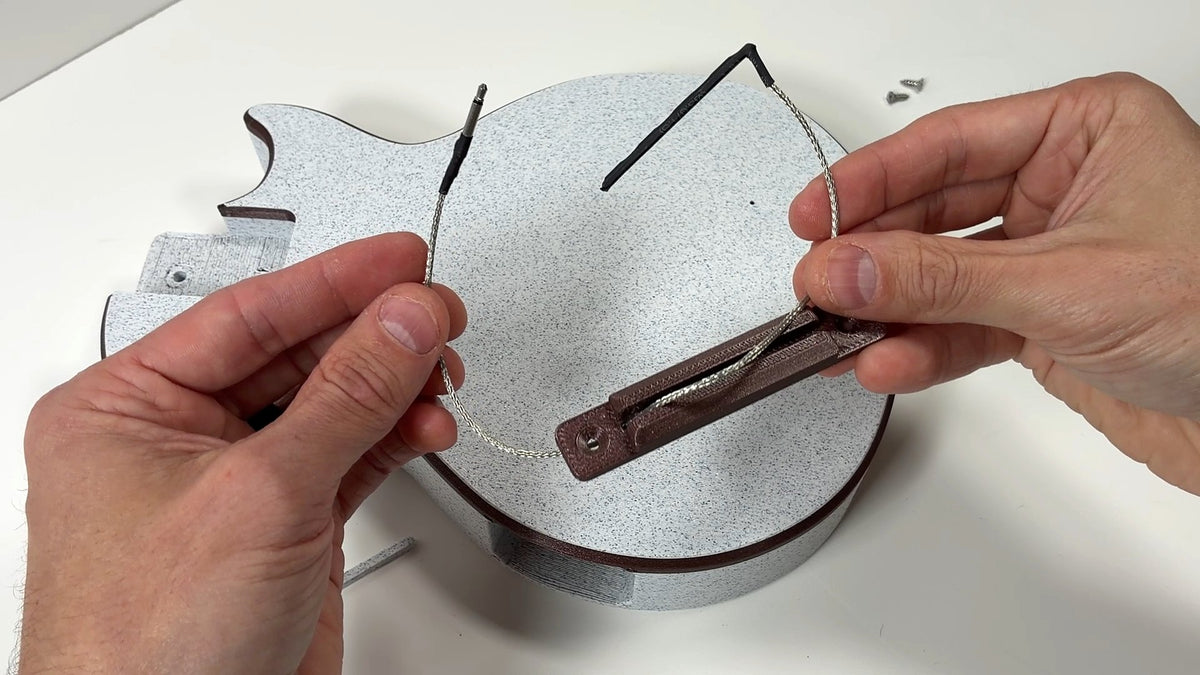
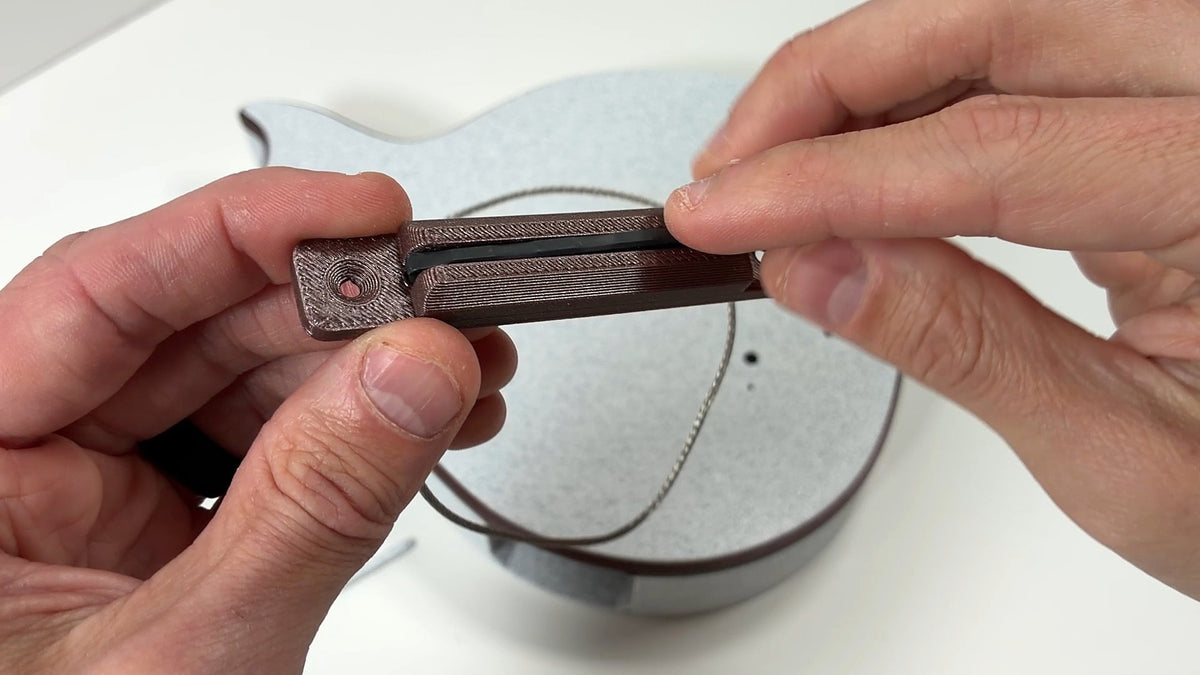
Feed the piezo wire through the hole in the bridge, then lay the pickup flat in the bridge slot.
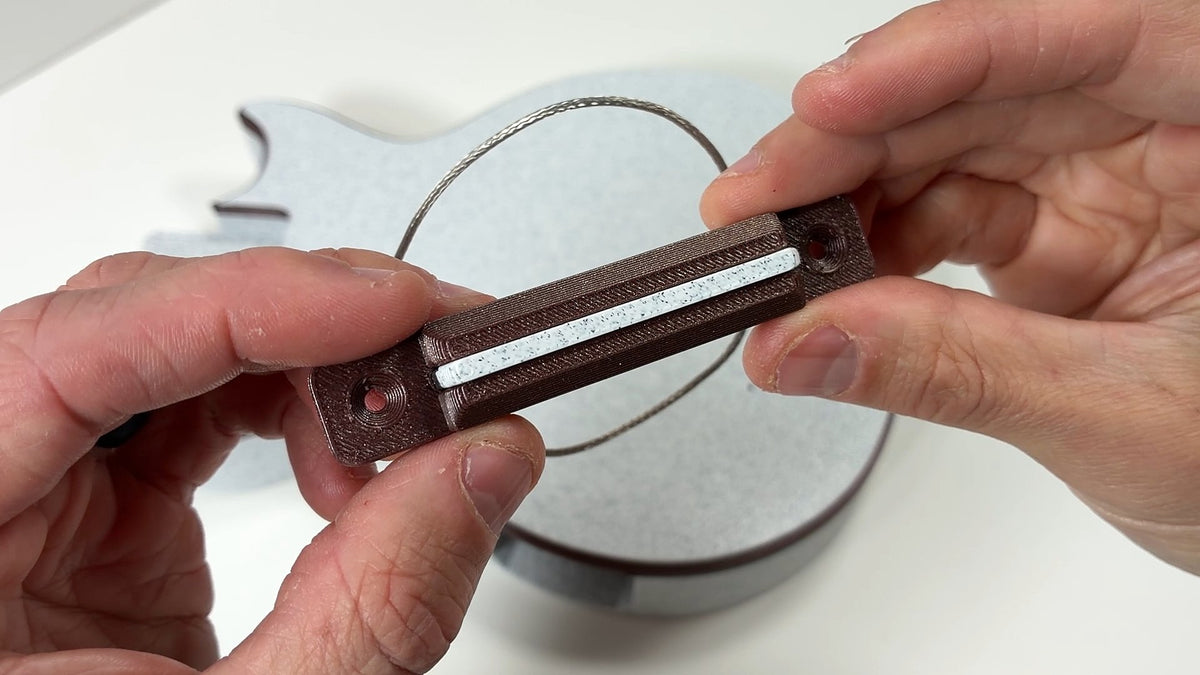
Set the saddle in the slot on top of the piezo.
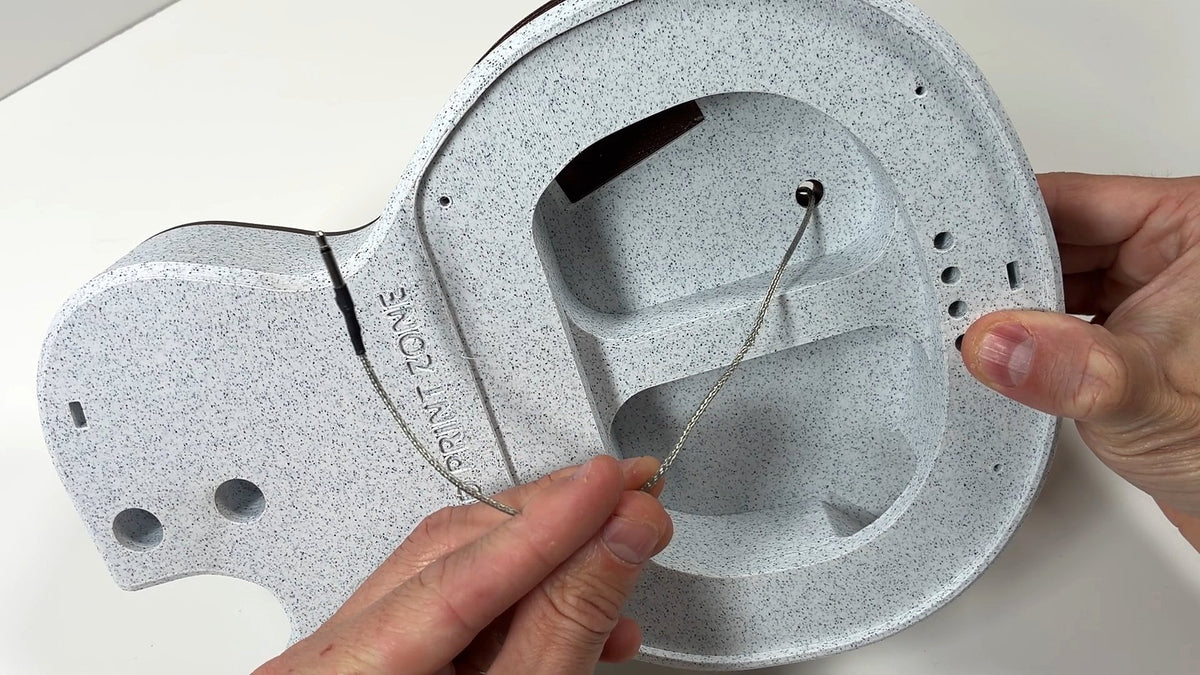
Feed the connector through the hole in the top of the body and pull it through from underneath.
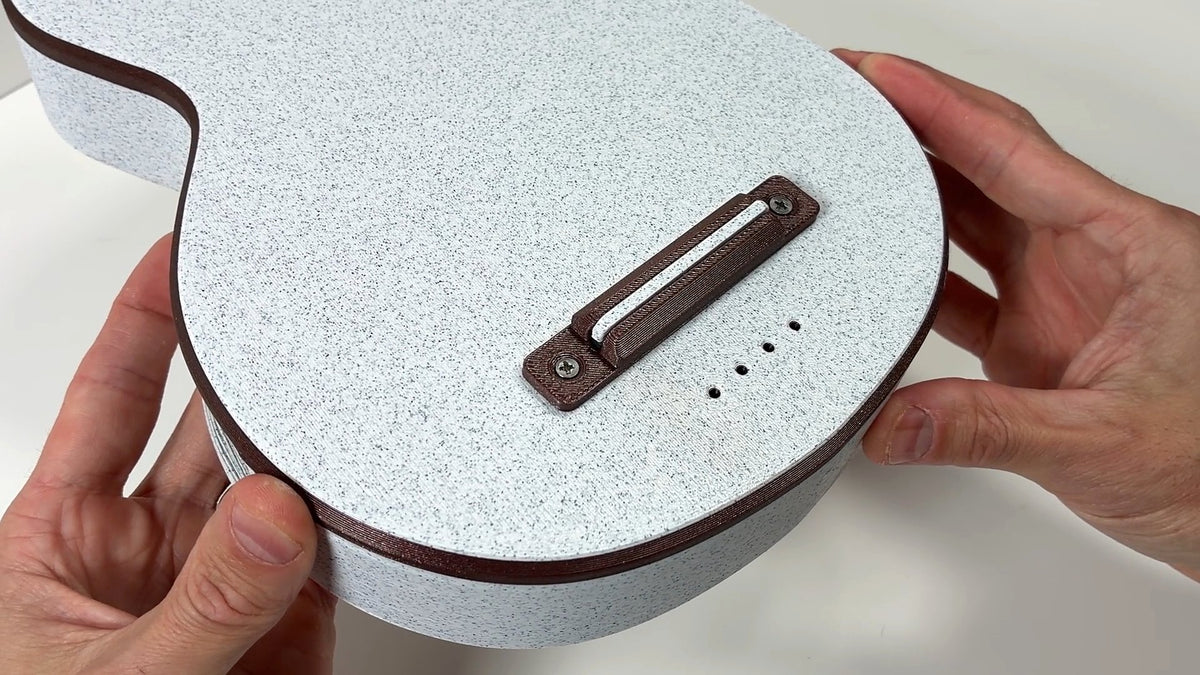
Fasten the bridge with 2 Phillips screws.

Lift the saddle out and set it aside.

Feed the preamp lead through the rectangular opening in the side of the body, then plug the piezo connector into the preamp.
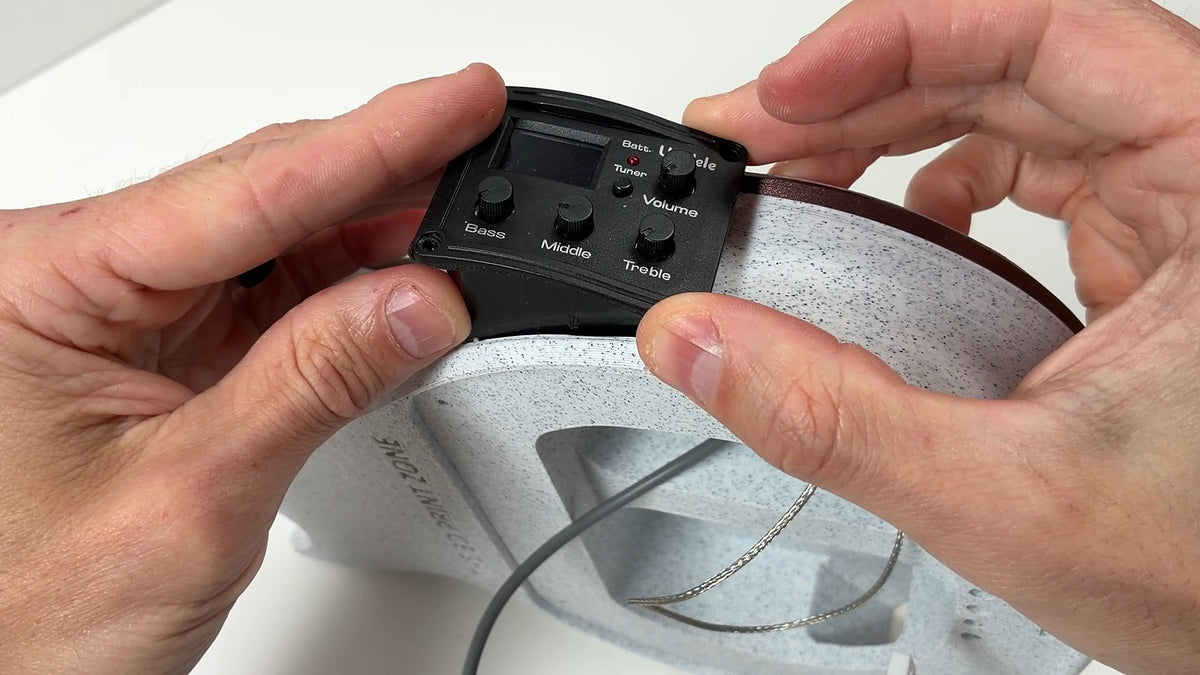
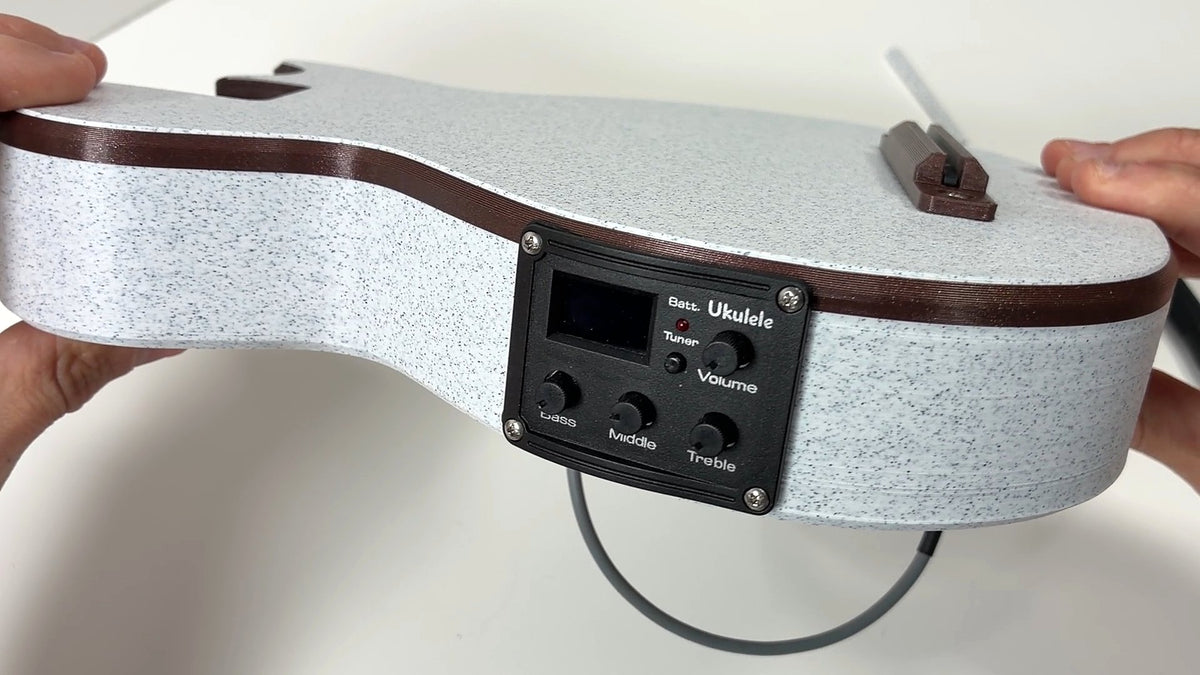
Tilt the preamp into the opening and fasten it with 4 screws.
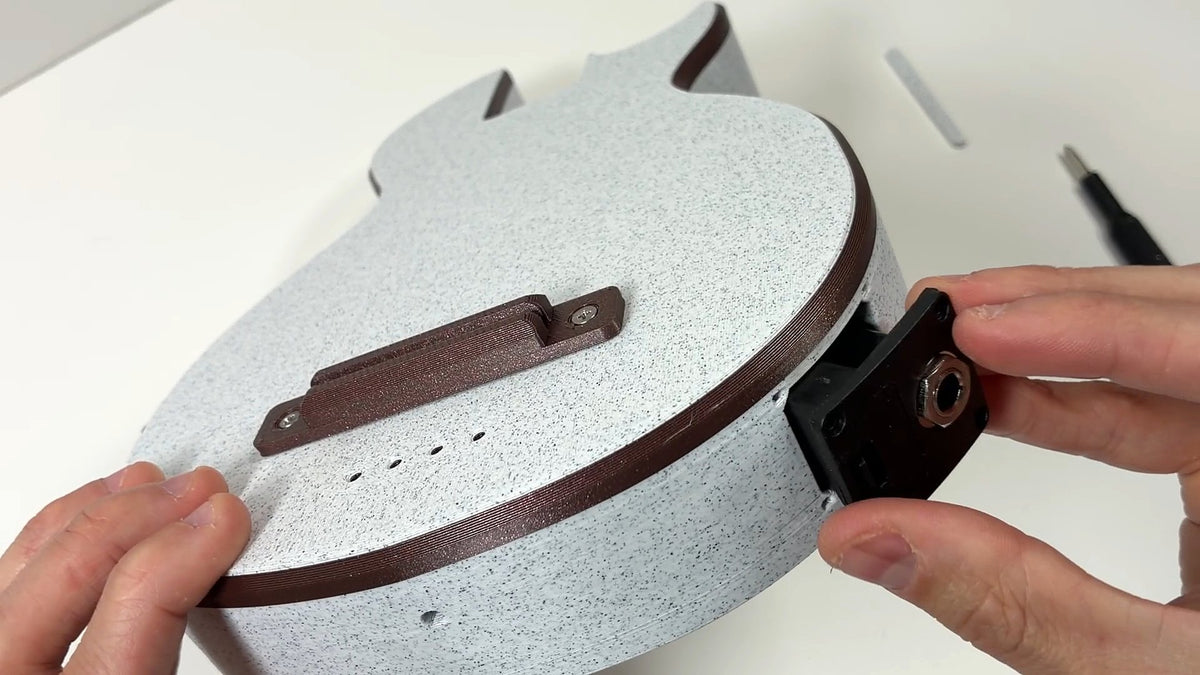
Set the jack into its opening and fasten it with 4 screws.

Inside the body, plug the preamp lead into the output jack.

Slide a square nut into each strap-post slot in the body.
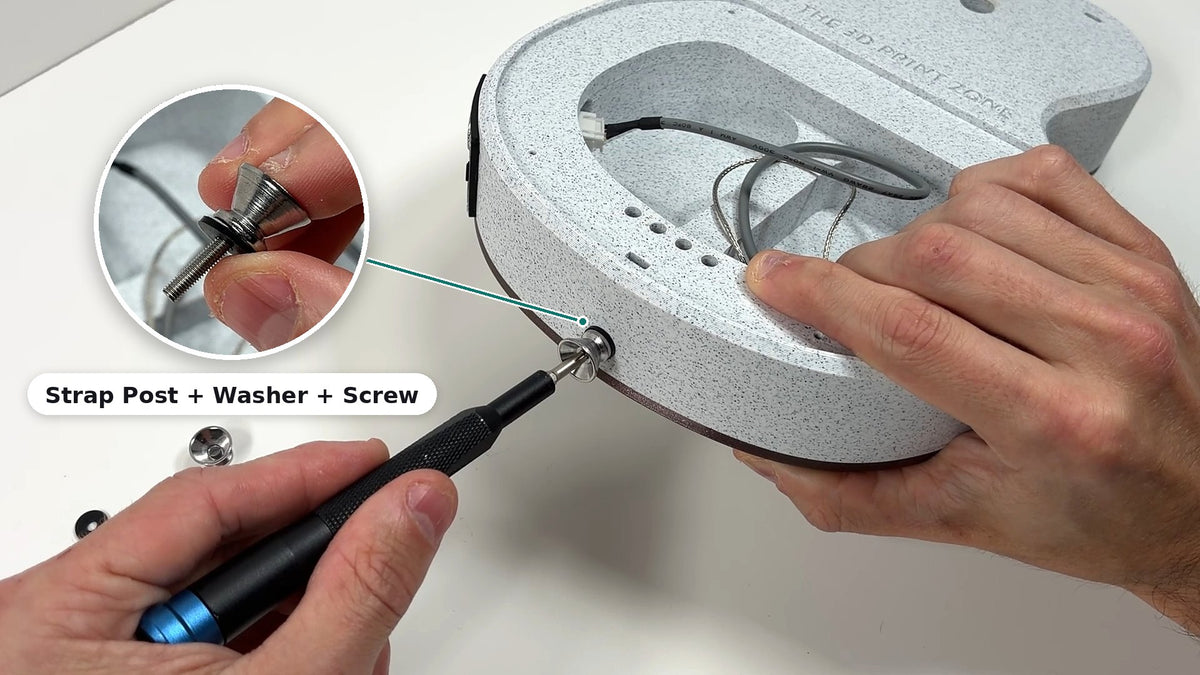
Put each screw through a strap post, add the rubber washer and thread it into the square nut.
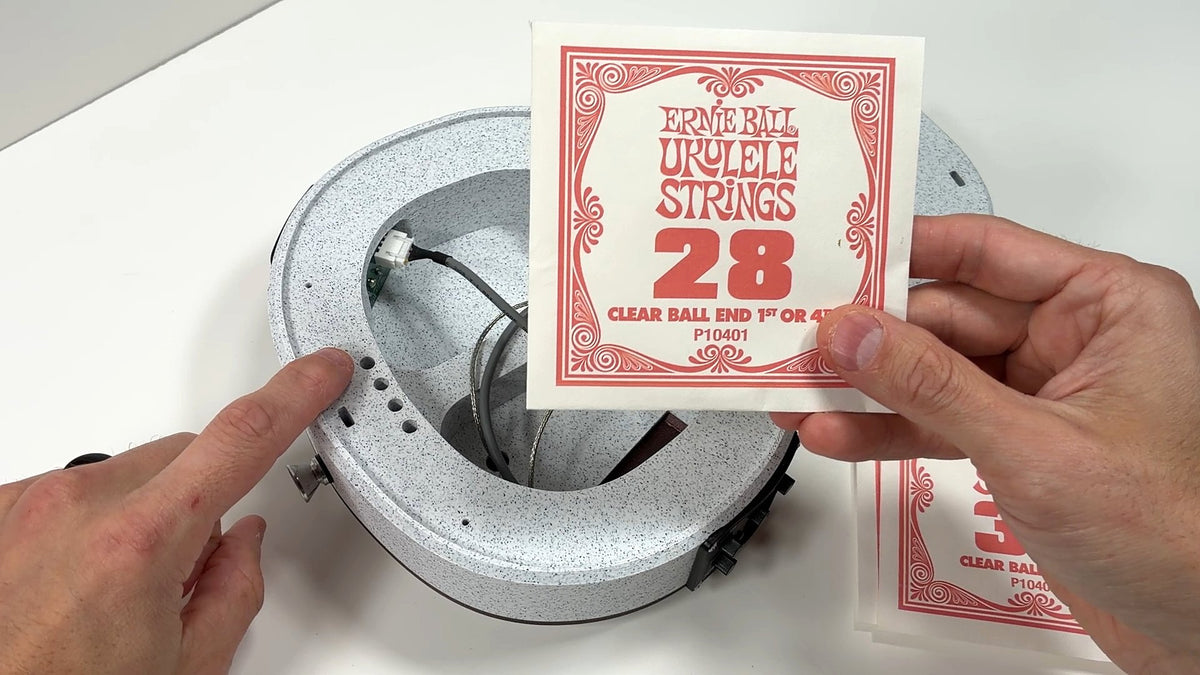
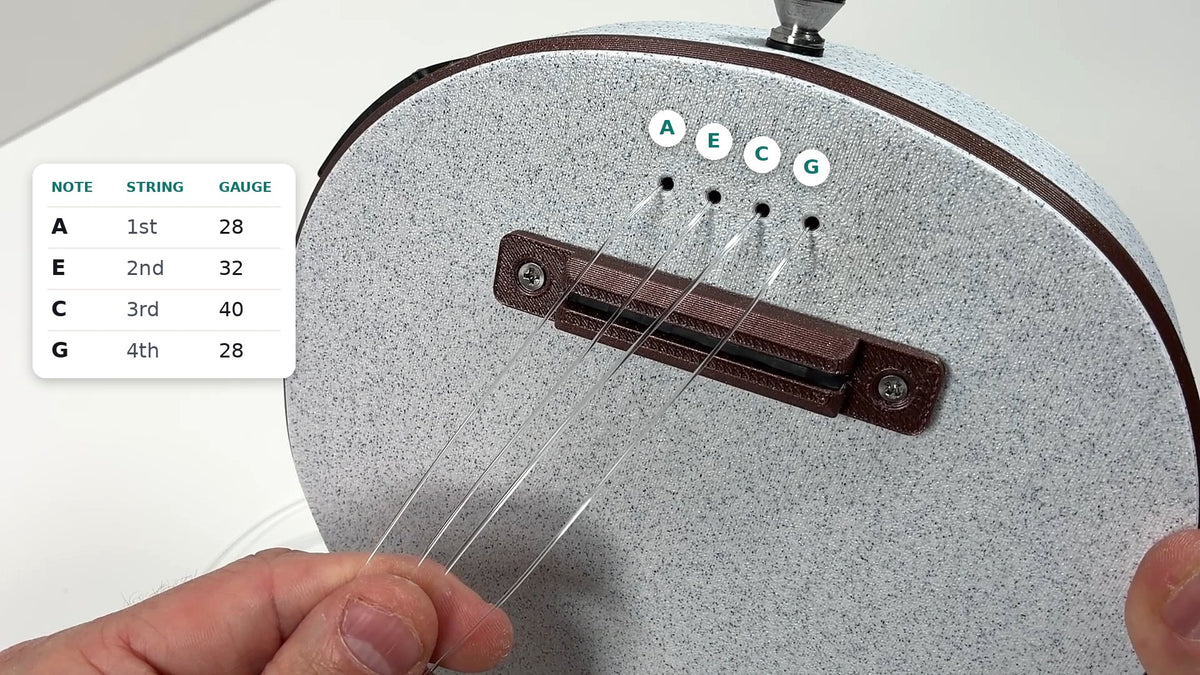
From the back, feed each string through its hole and out the top behind the bridge. The ball end stays inside the body. In order from the top string (closest to your head): G, C, E, A.

Fasten the backplate with 4 screws.
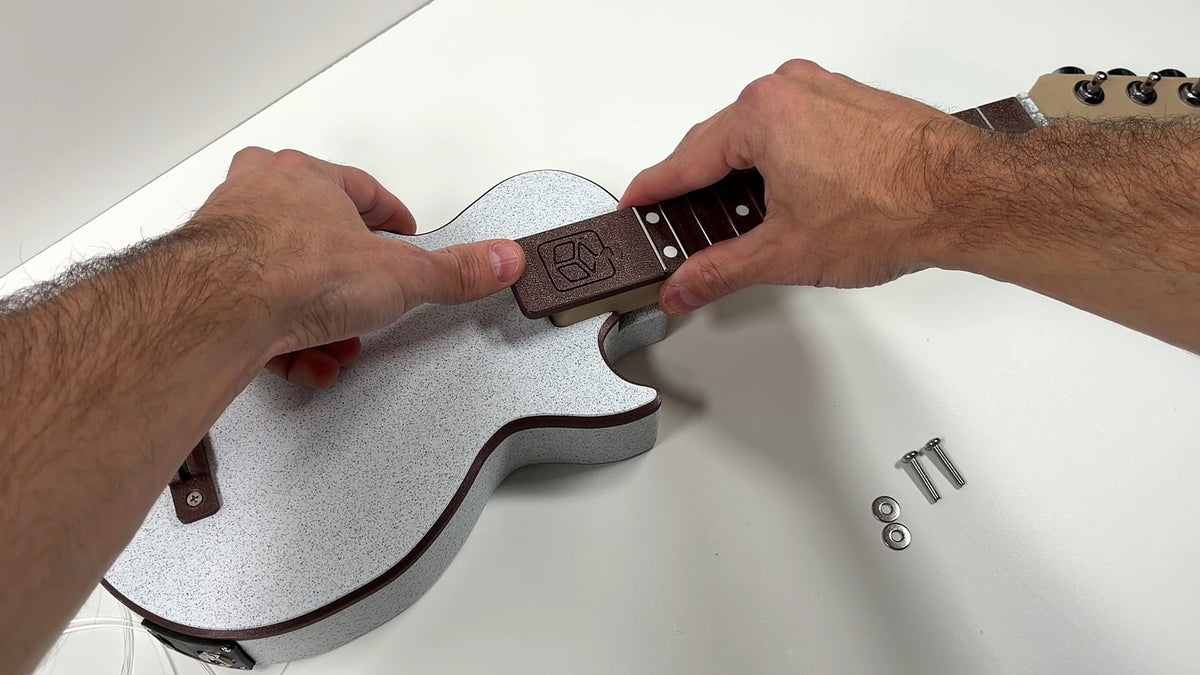
Press the neck firmly down into the neck pocket.
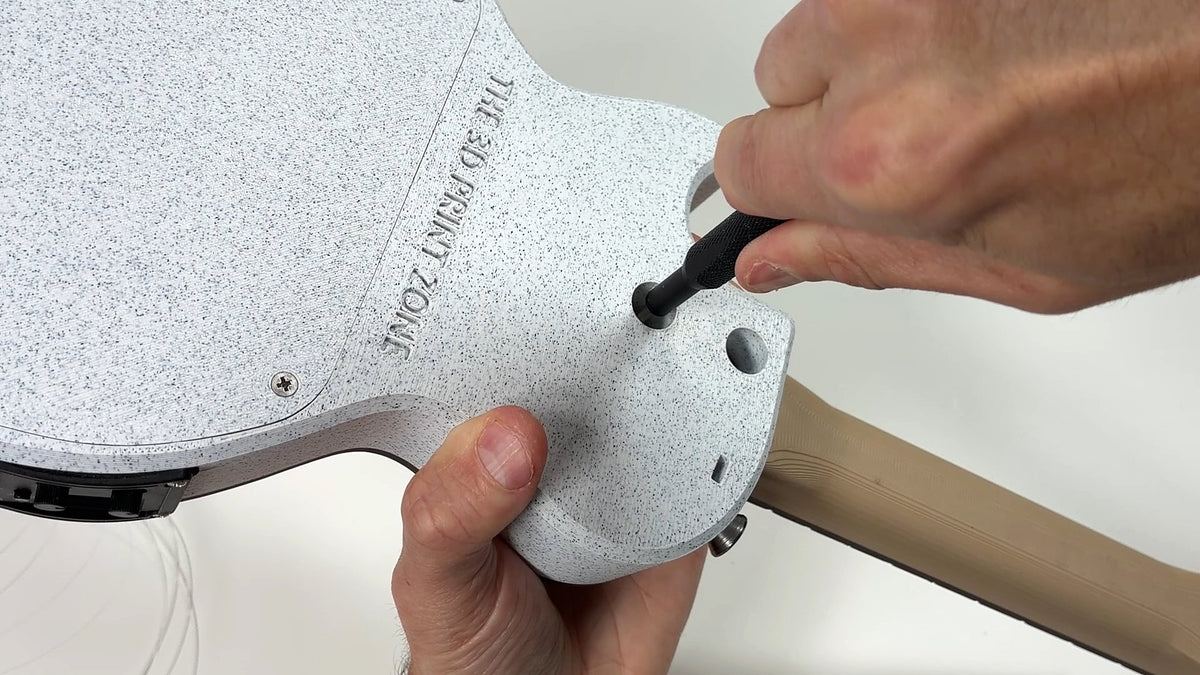

Flip the uke over. Put a washer on each screw and drive both into the threaded inserts with the Phillips bit.
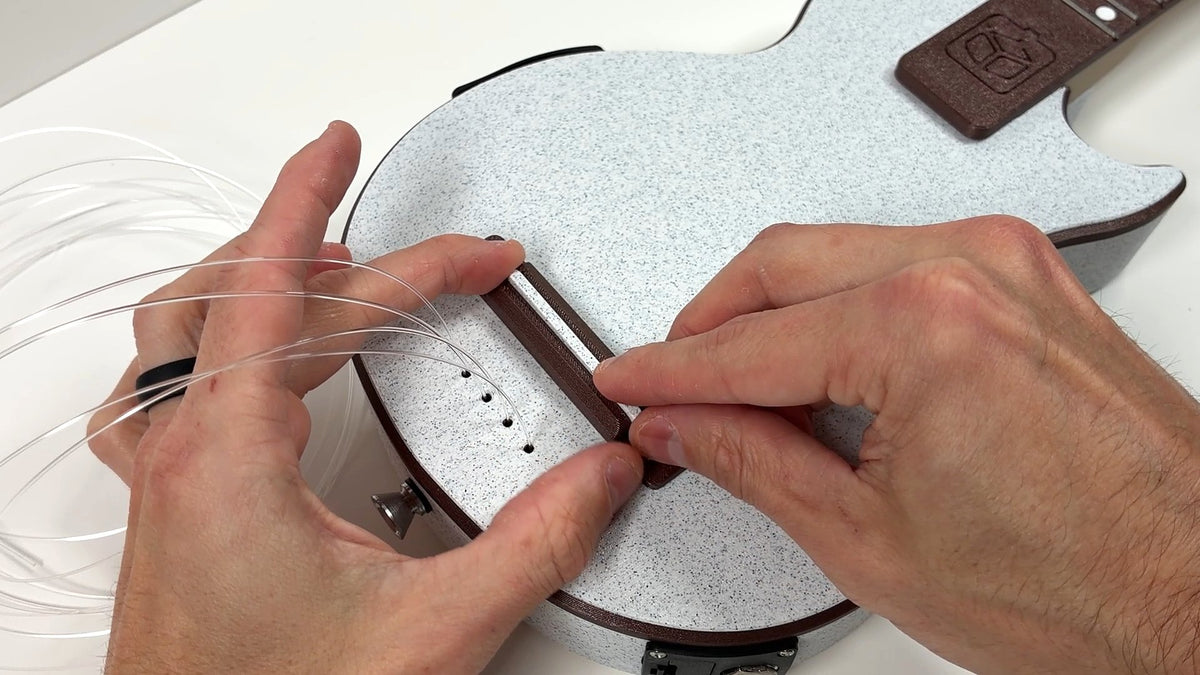
Set the saddle back into the bridge slot.
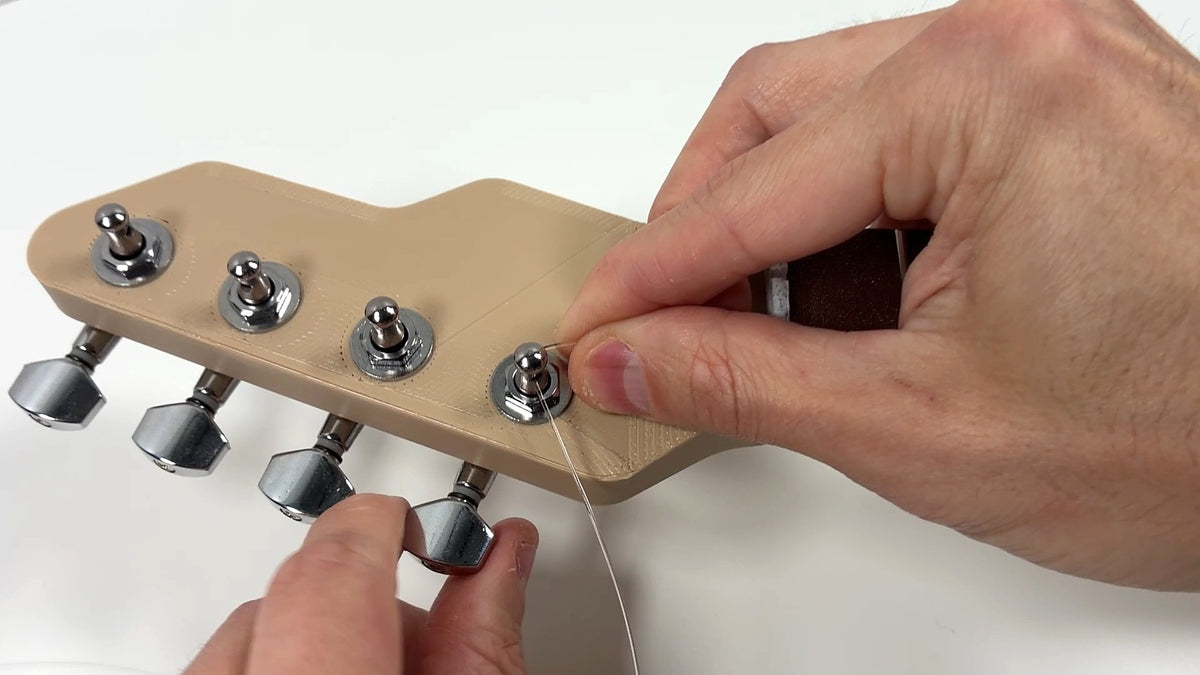
Pass each string through the hole in its tuner post and turn the peg to wind it on.
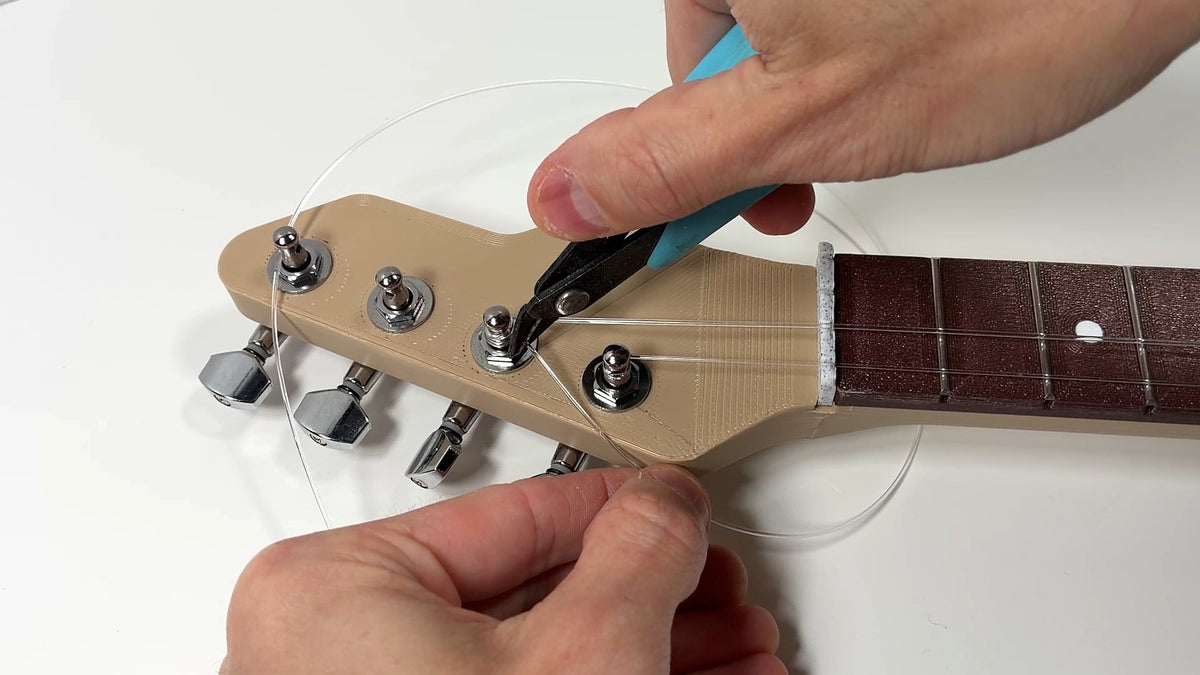
Snip each string a little past its post.

Turn on the built-in tuner and tune to G, C, E, A.
Plug into an amp, pedal or PA with a standard 1/4 in instrument cable. Start with bass, mid and treble at the center, set the volume, then adjust to taste.
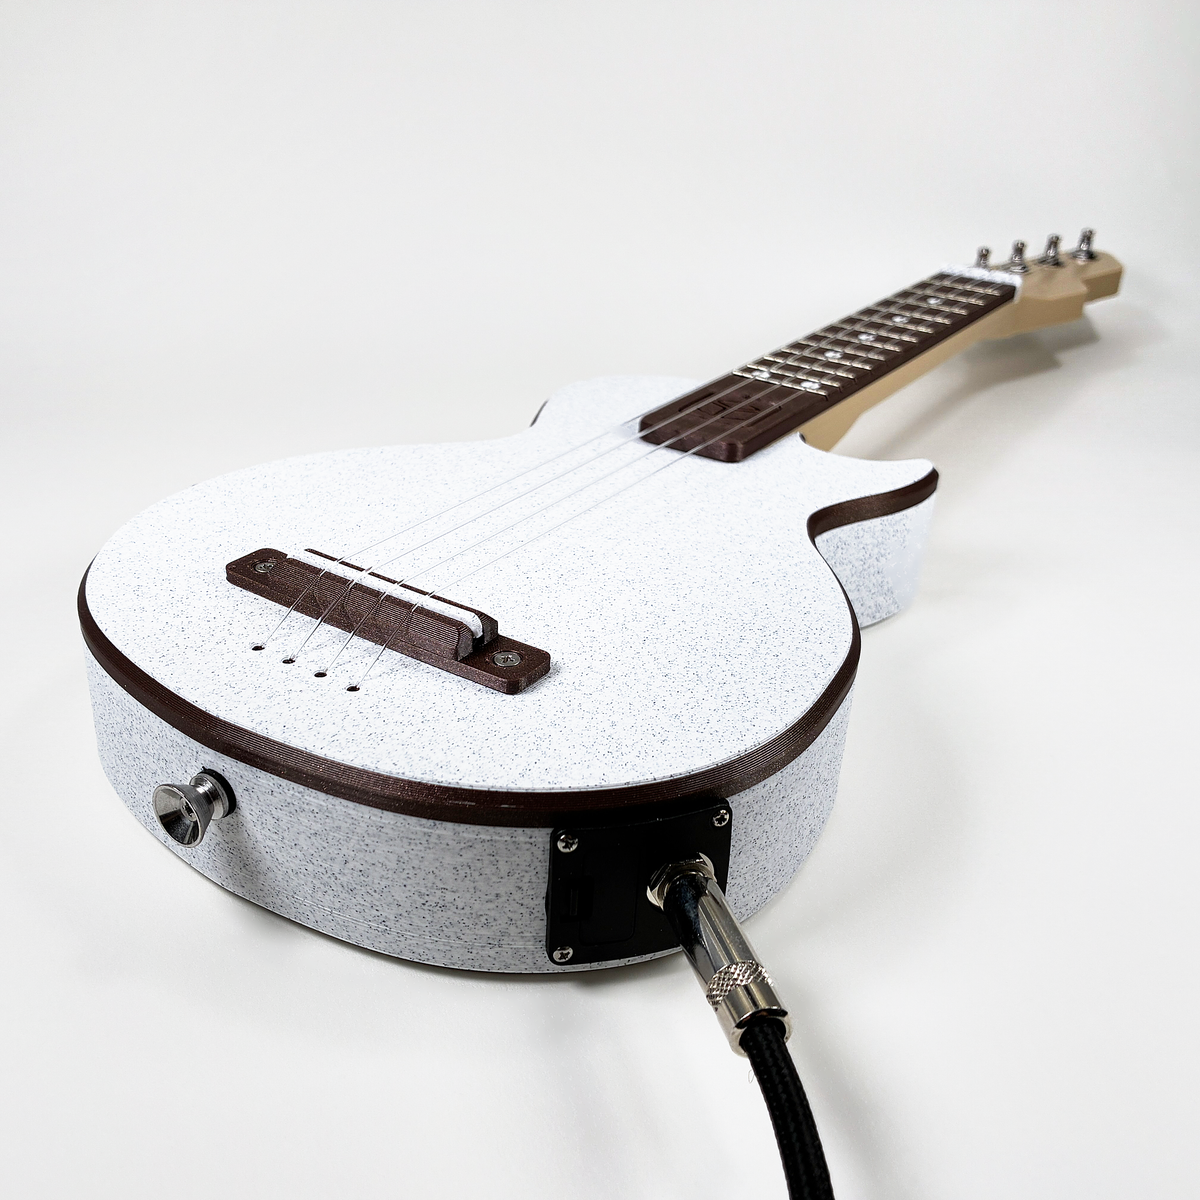
Check both plug-in connectors (piezo to preamp, preamp to jack) and make sure the cable is pushed fully into the jack.
Check the two CR2032 batteries in the jack compartment are seated the right way up.
Make sure every fret is fully pressed down and the saddle is seated in the bridge slot.
Email us, we'll help you finish it.