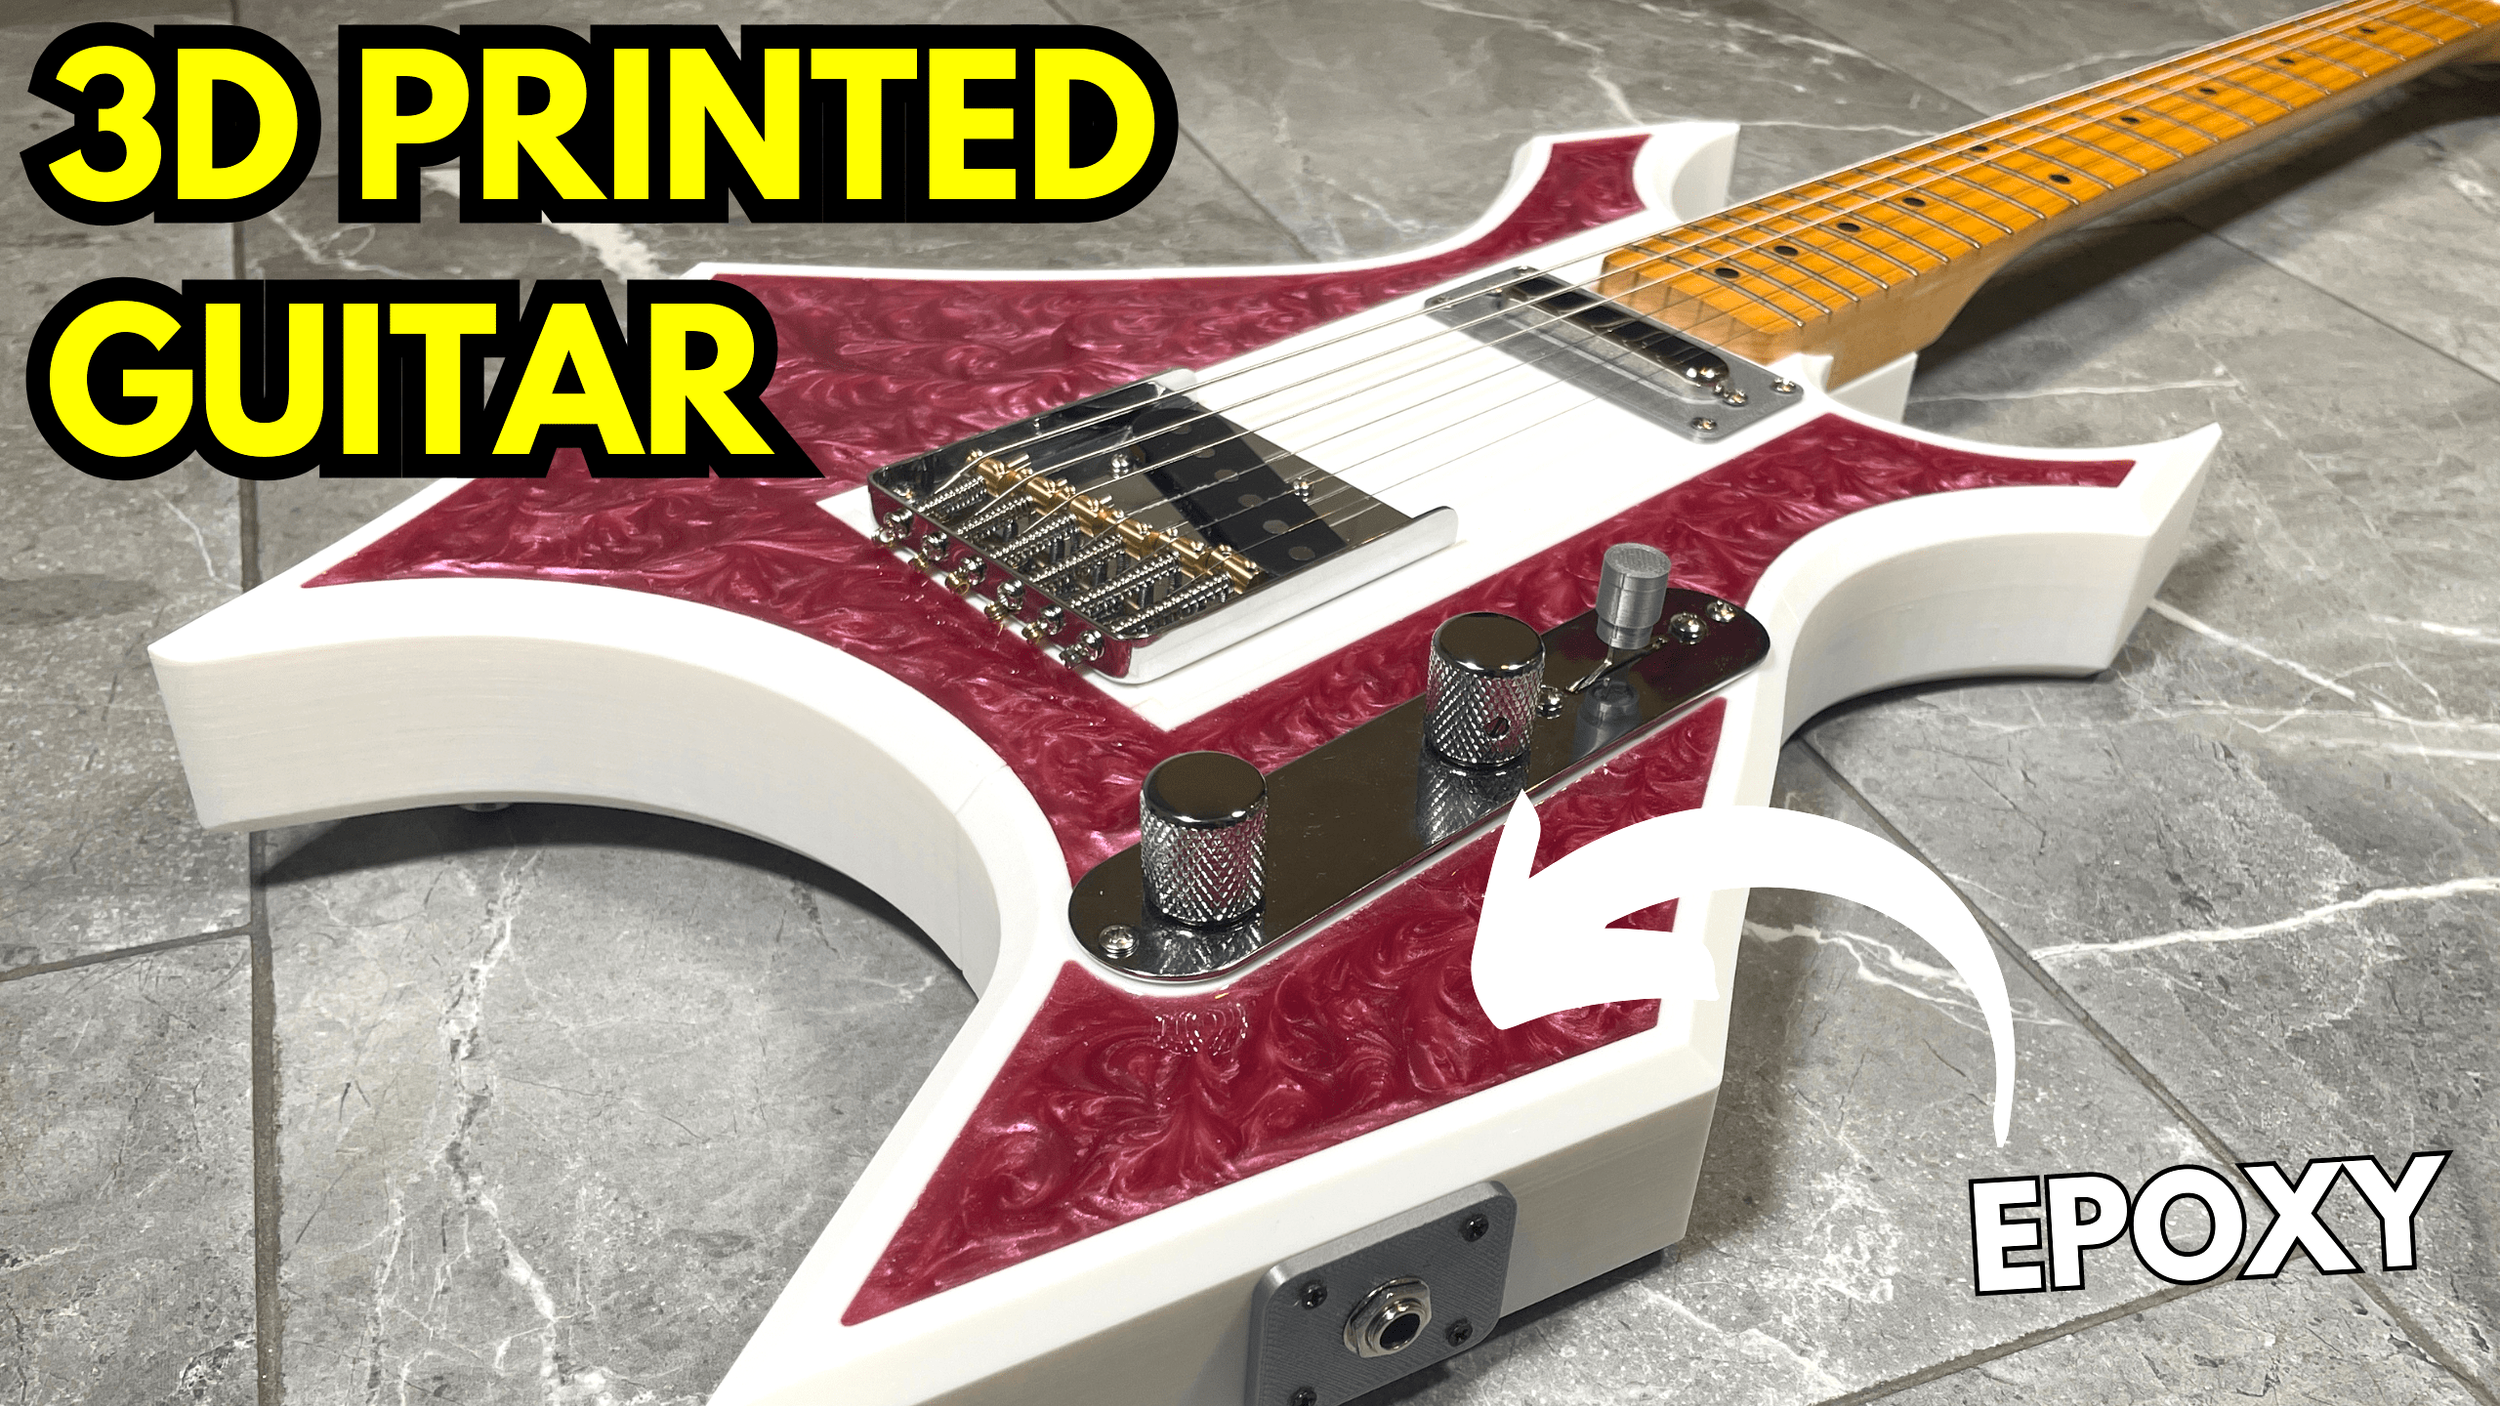

TELE RIVER KIT
Create your own custom 3D printed guitar kit! Print the guitar body, and we'll provide all the essential components. Follow our easy step-by-step assembly guide to build your unique instrument, and get ready to rock!
Create your own custom 3D printed guitar kit! Print the guitar body, and we'll provide all the essential components. Follow our easy step-by-step assembly guide to build your unique instrument, and get ready to rock!
Create your own custom 3D printed guitar kit! Print the guitar body, and we'll provide all the essential components. Follow our easy step-by-step assembly guide to build your unique instrument, and get ready to rock!
🎸 🎸🎸🎸🎸🎸🎸
Unleash Your Inner Rock Star!
🎸 🎸🎸🎸🎸🎸🎸
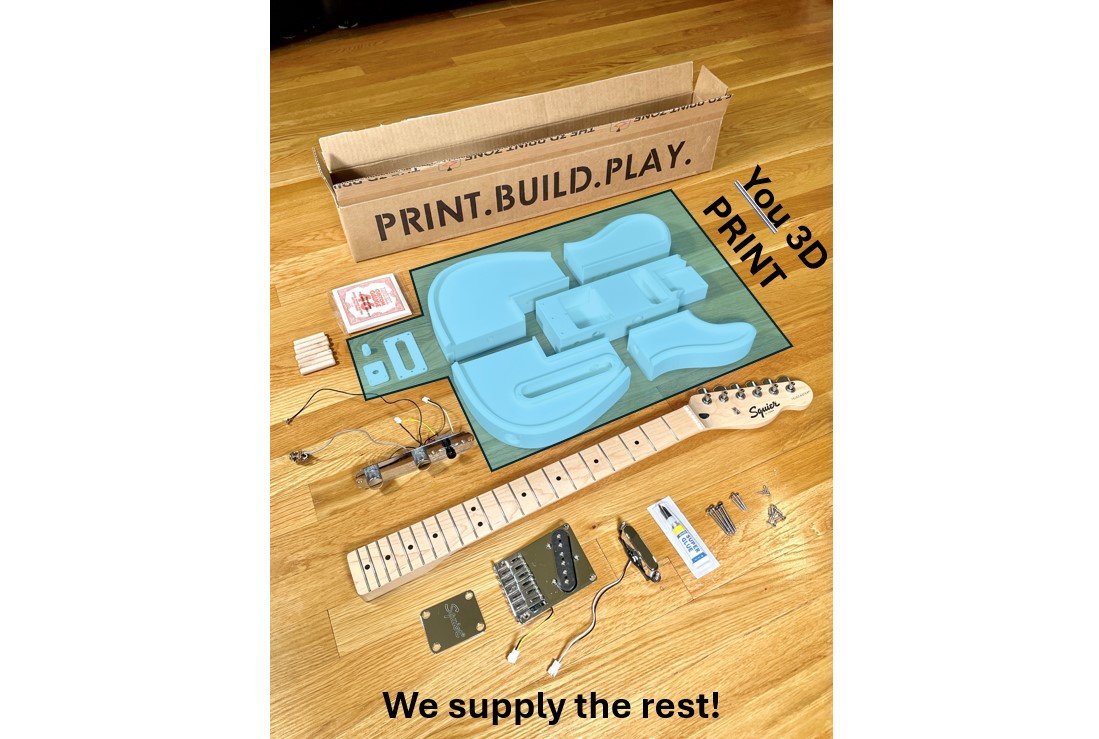
🔹 PRINT🔹
Use your 3D printer to print the body components. Recommended print bed area is 256mm x 256mm (Ex Bambu Lab A1, P1P, X1C, and many more!)
Kit includes the 3D printer files (STLs and 3mf files with printer settings pre-loaded).
Use any color filaments you want! Solid, color changing, silk, marbled, wood, glow in the dark!
Print time will vary based on several factors (printer, settings, model) but is ~35 hours in total to print all parts.
Filament usage will also vary based on slicer settings and model but is typically less than 2kg (2 rolls) of filament.

🔹 BUILD🔹
Easy assembly.
Step-by-step instructions provided (below).
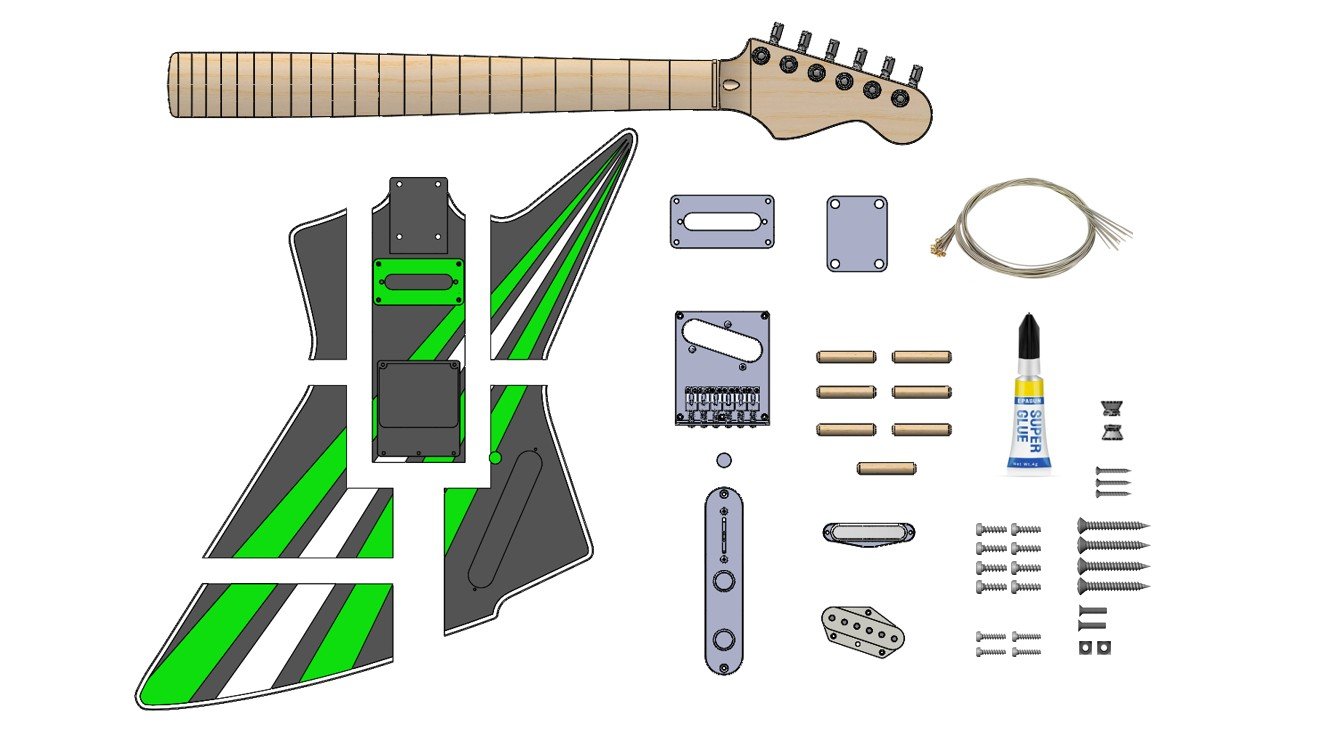
This complete kit includes everything you need to build your guitar – neck, pickups, bridge, control panel (pre-wired with connectors….no soldering required), strings!
Approximate guitar assembly time is ~1 hour.
For optional resin pour, the build will require an additional 24 hours to allow the resin to cure.
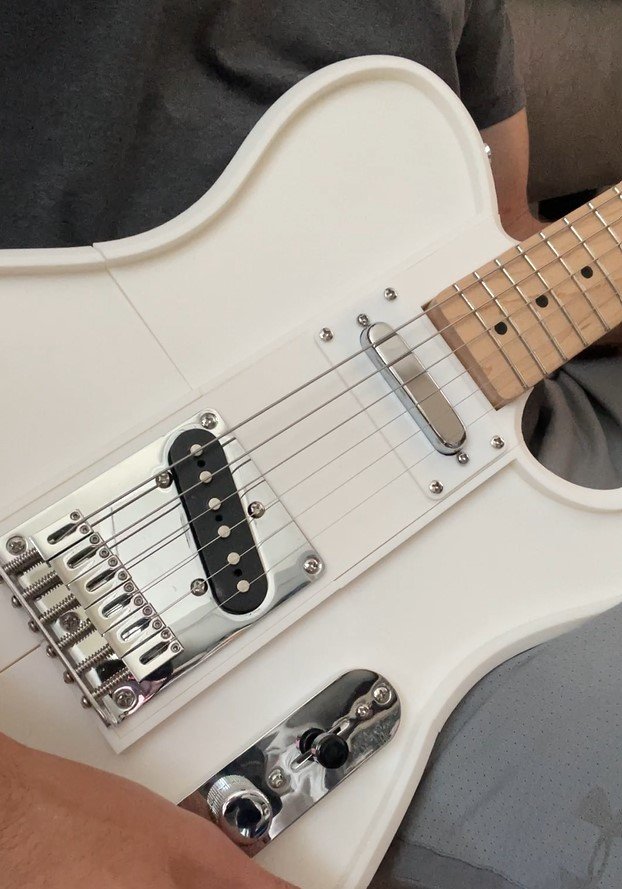
🔹 PLAY🔹
Plug the guitar into your amp and rock out!
What’s Included
Download of 3D Print Files (STLs and 3mf)
3mf files have 3D printer setting already pre-loaded so you can simply slice and print!
STL files can be used if you want to customize the print settings!
Wooden Alignment Dowels
Super Glue
Genuine Telecaster Squier Components
Neck
Neck Plate
Bridge
Bridge Pickup
Neck Pickup
Control Plate
Output Jack
Strap Posts
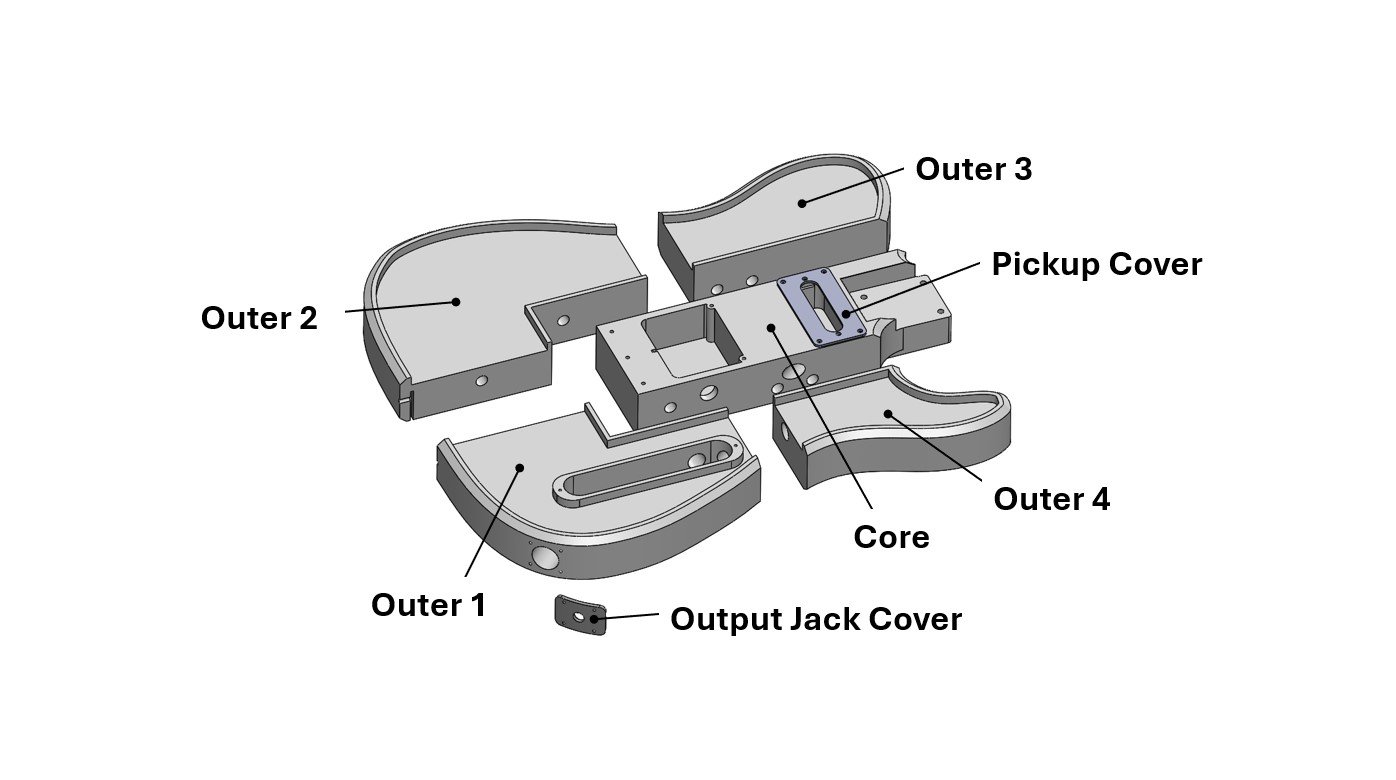
Note: All guitar models have a center “Core”, but the shape / quantity of “Outer” parts depends on the design
Note: Images are for demonstrative purposes. They are not intended to be technically accurate of the actual components.
Build Instructions
See build tutorial video below, followed by step by step written instructions with diagrams.
Step 1 - 3D Printing
Use the included .3mf files to print with pre-configured settings -or- use the STL files and customize them.
Slice the models and print them out. See recommended settings in table below.
NOTE: Higher infill percentage will result in stronger / heavier parts.
NOTE: Tree supports are recommended as they break away easier.
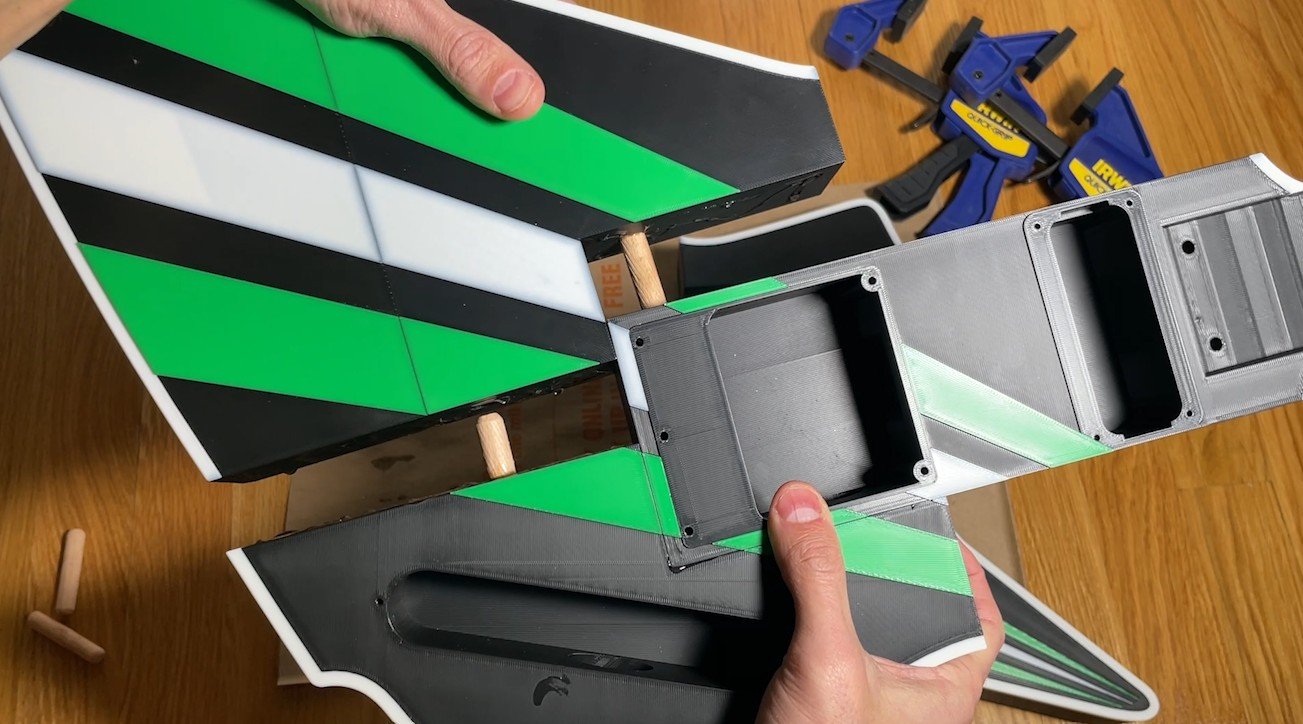
Step 2 - Dowels and Glue
Ensure that all support material is removed from the dowel holes.
Squeeze super glue into dowel holes and then press dowels into the 3D printed parts. Make sure they are fully inserted.
Apply super glue to the contact faces (shown in BLUE) and press the parts together.
RECOMMENDED: Use wood clamps to hold the parts together and allow a full 24 hours for a strong bond.
Step 3 - Resin Pour (Optional)
Resin provides a few benefits to your 3D printed guitar:
Body Stiffness
Weight Balance
Aesthetics
You can use any 2-part resin, I recommend JB Weld for strength and clarity.
Mix 50% Part A and 50% Part B together using a popsicle / stirring stick.
You can use Mica Powder to add color to the resin top. There is no science here…choose color(s) and mix into the resin until you get a color you like.
Ensure your work surface is level and pour the mixed resin into the guitar recess(es).
IMPORTANT: Please wait a full 24 hours to let the resin fully set.
Step 4 - Sub-Assemblies
Step 5 - Mounting Neck Pickup Sub Assembly
Step 6 - Routing the Bridge Ground Wire
It is important to ground the Bridge to avoid guitar “hum” or “buzz” from the amplifier
This step positions the ground wire to be “pinched” by the Bridge when it is installed in the next step.
Route the wire as shown and tape it to the Core. Note that the Control Panel (not shown) will be mounted in a later step.
Step 7 - Sub-Assemblies
Step 8 - Mounting Output Jack Sub Assembly
Step 9 - Mounting Bridge Pickup Sub Assembly
Step 10 - Mounting Strap Posts to Body
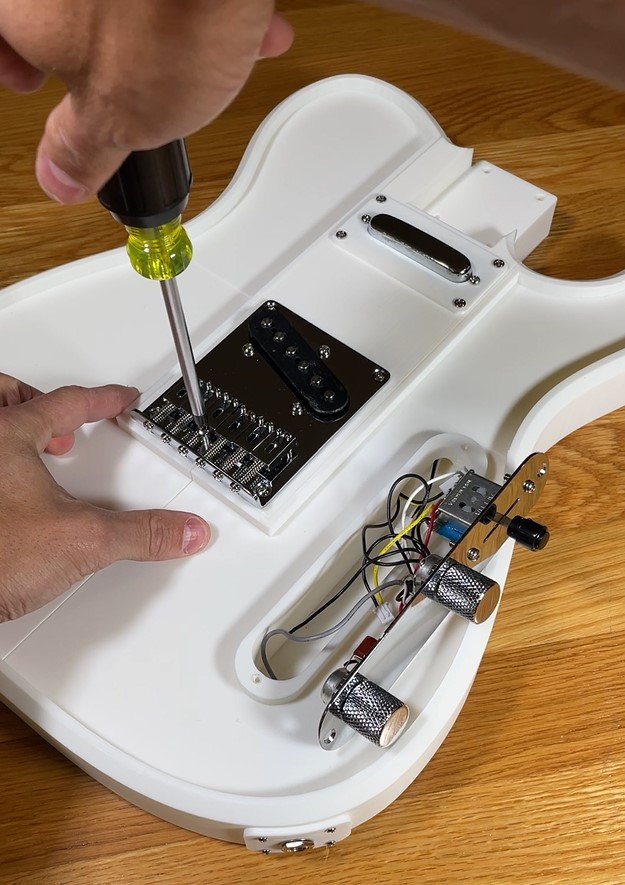
Step 11 - Make Wiring Connections
Bridge Ground routed through body and tape to core (shown in previous step). Clamped during Bridge install.
Signal and Ground are already soldered to controls.
Neck and Bridge pickups connection made via quick connectors.
Step 12 - Mount Controls to Body
Step 13 - Mount Neck to Body
Step 14 - Strings and Setup
String guitar

Setup guitar
Adjust Pickup heights
Adjust Bridge saddle heights
Tune / Intonate